Bespoke Designed Rustic Garden Bench

Bench completed with table in place

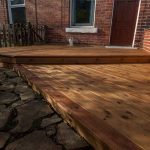
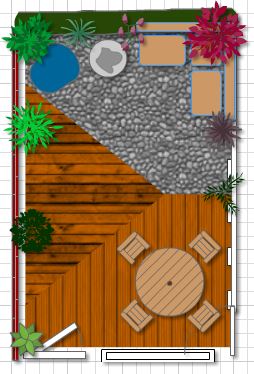
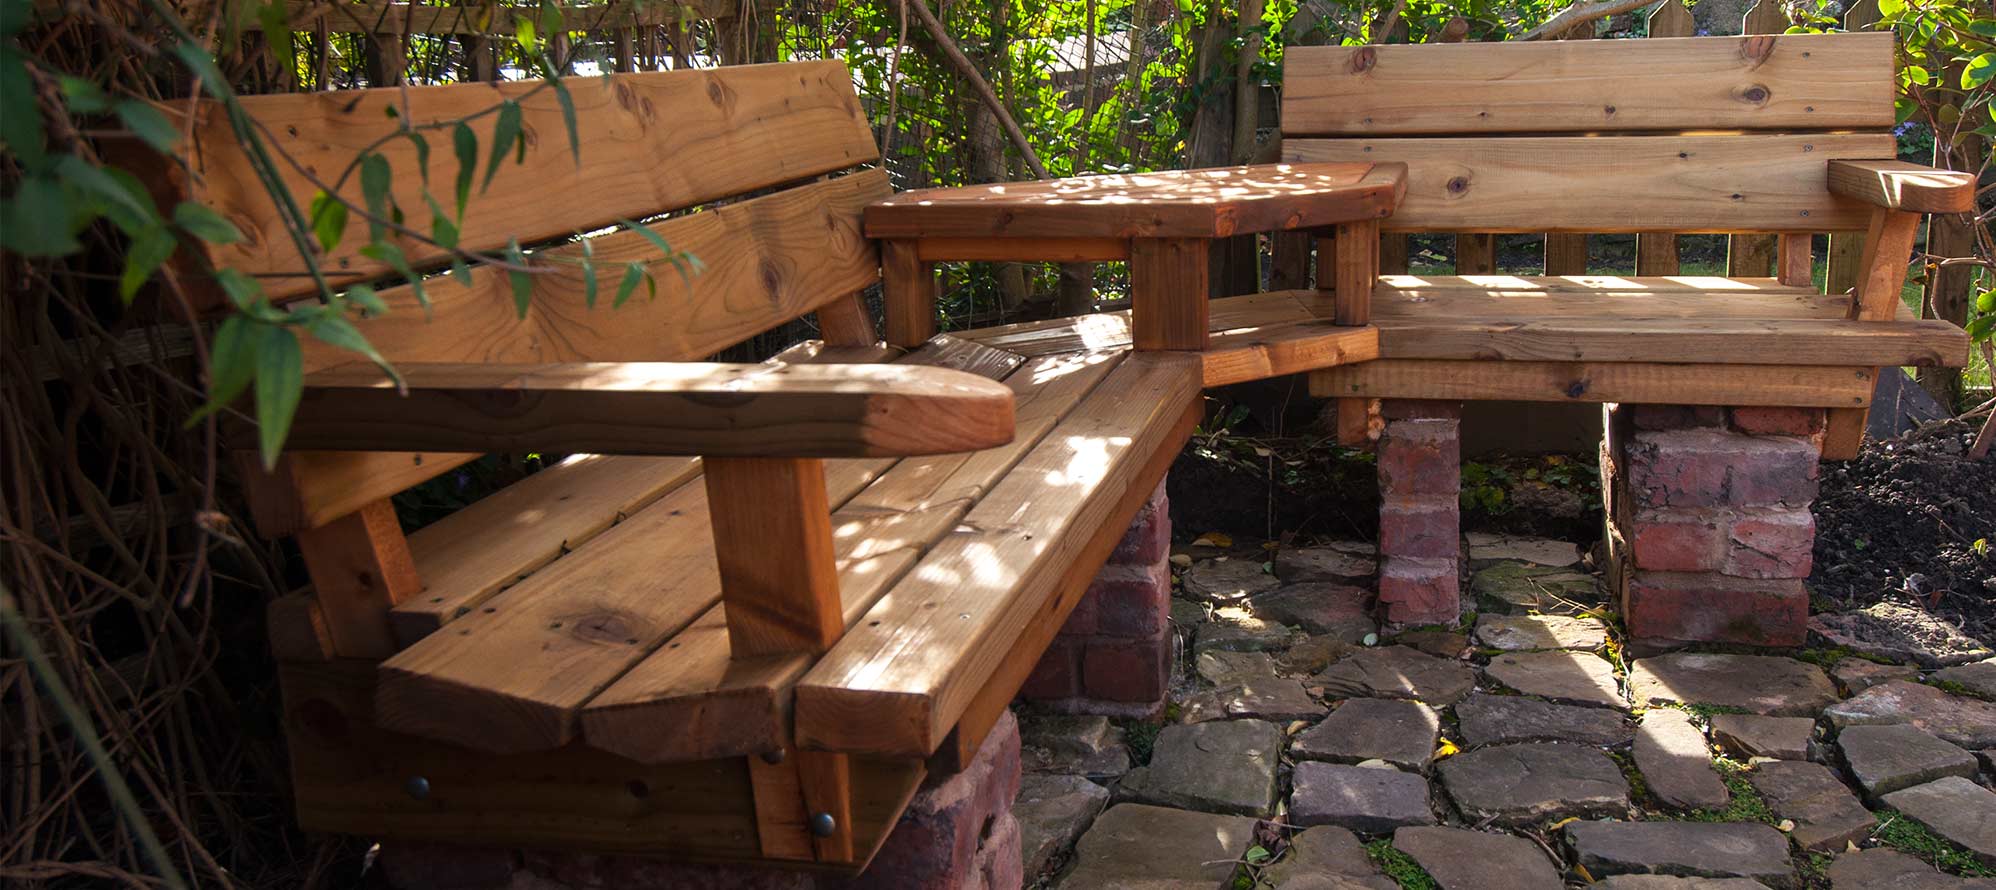
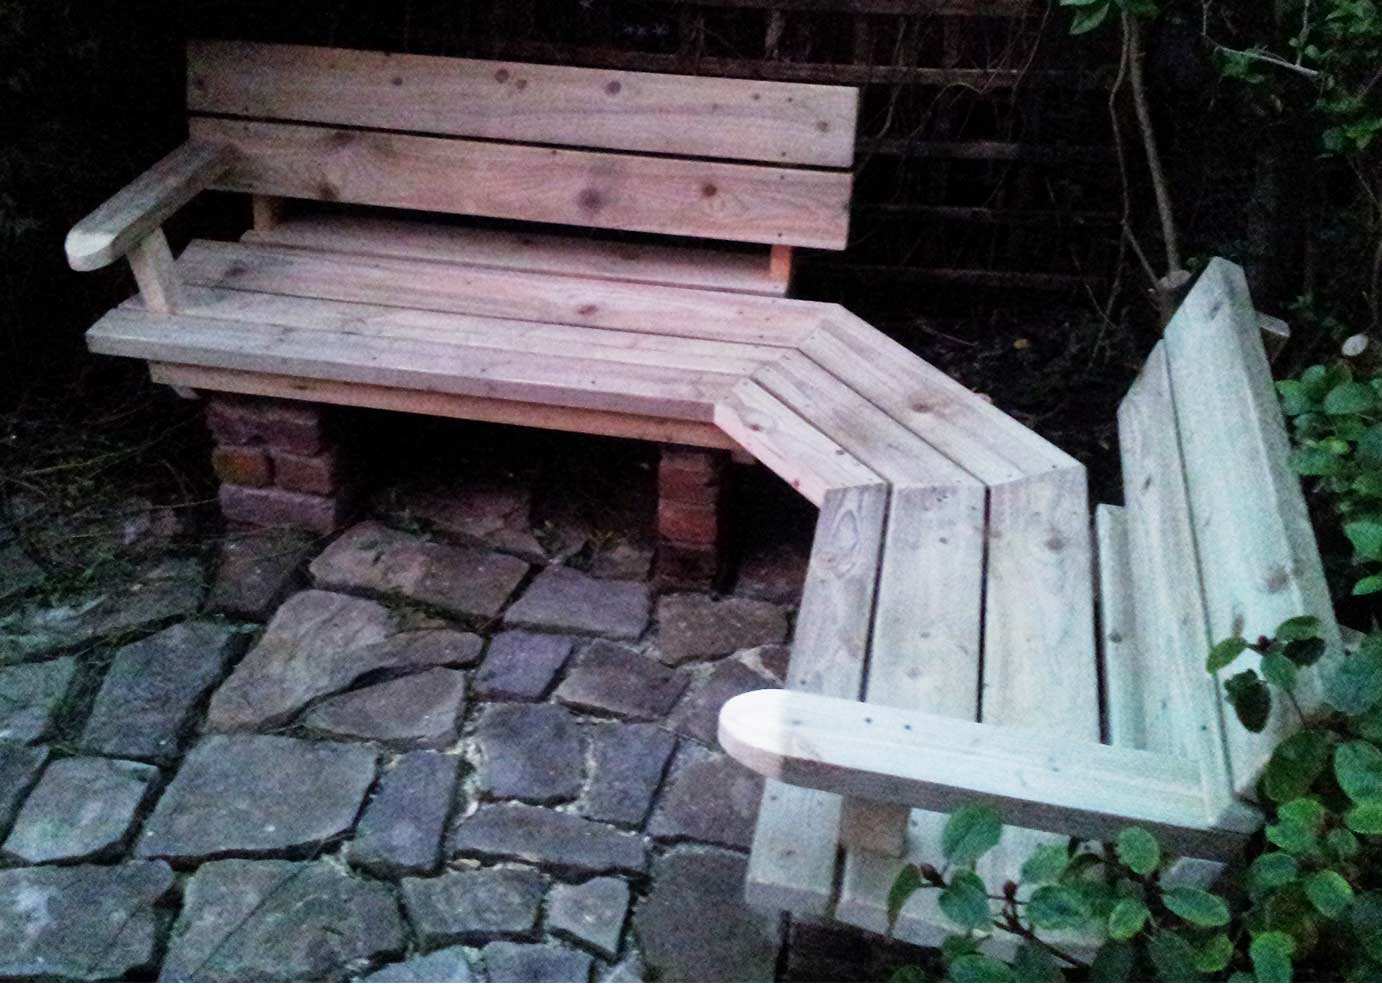
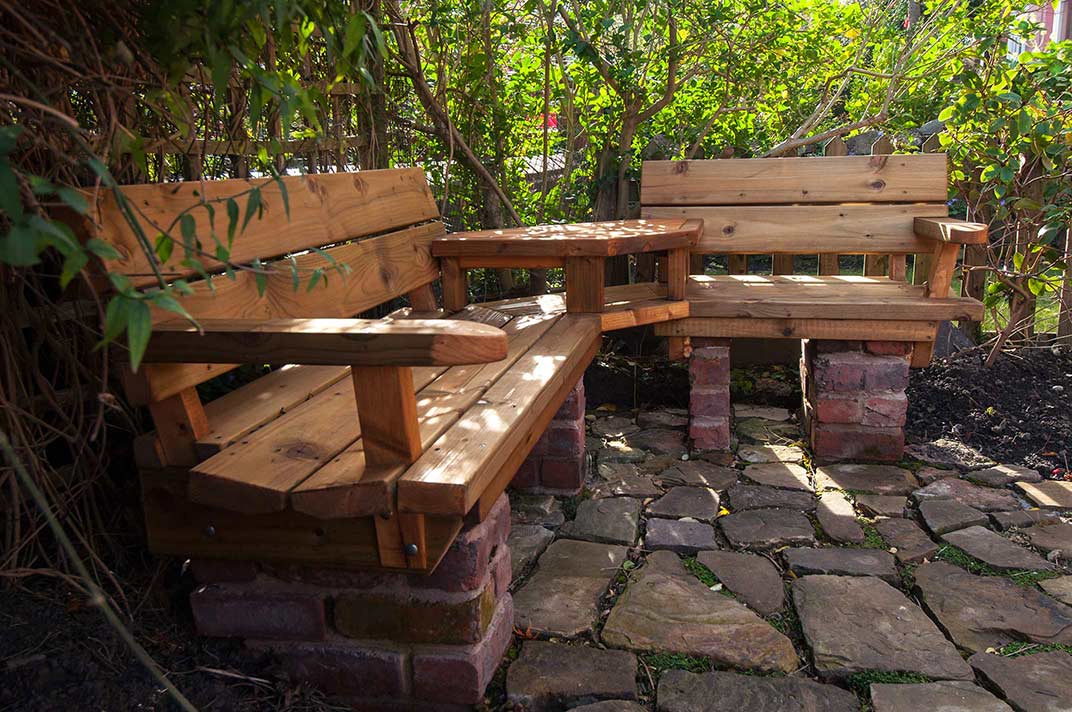
The feature item to complete this garden project was a bespoke designed bench.

Initial design concept, shows table and brick pillar options

Woodnewt was commissioned to design, manufacture and build a brick and timber corner bench. The brief was to be a simple rustic bench but with the added complexity of being affixed to reclaimed brick built supports.

Ground cleared to set concrete footings

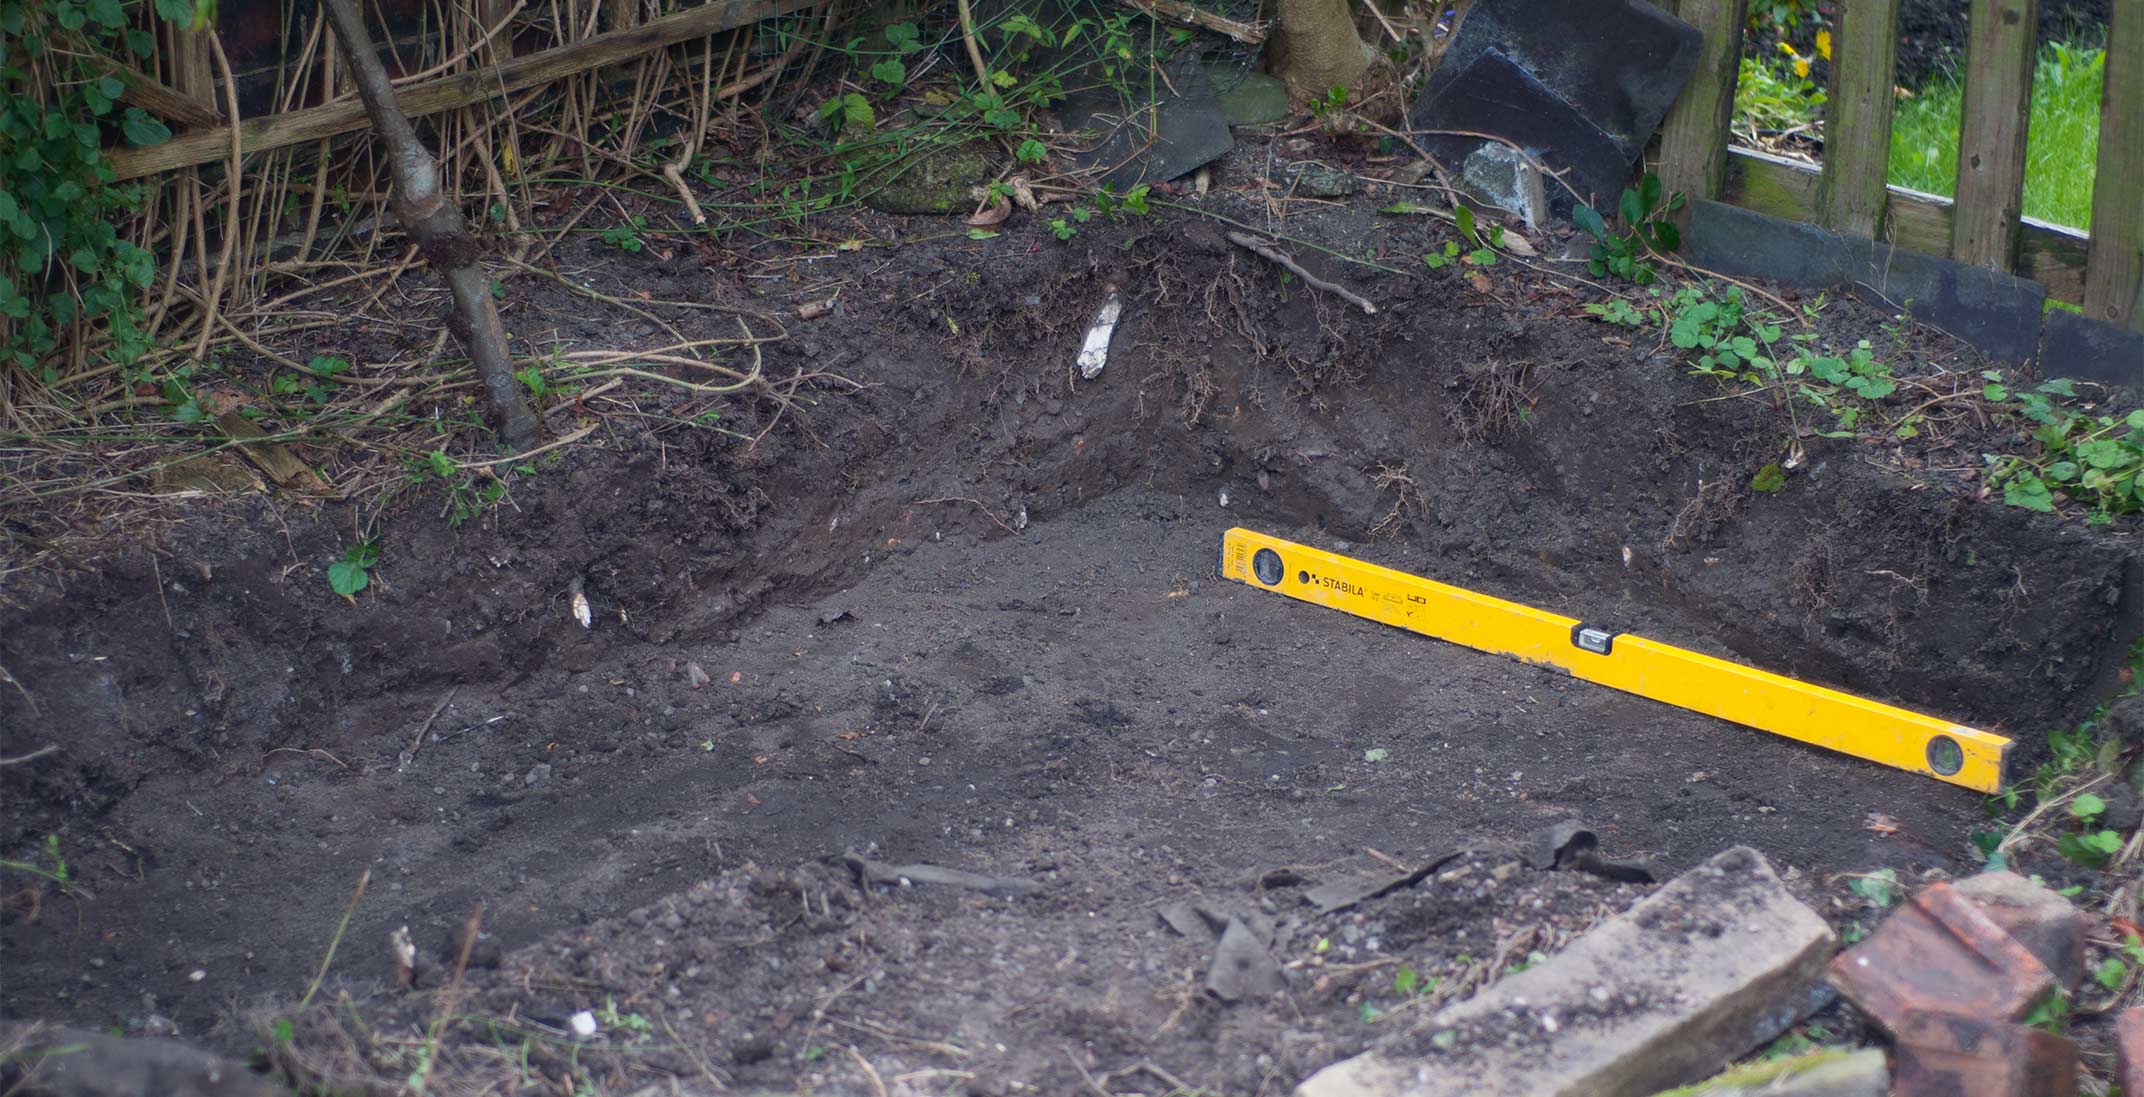
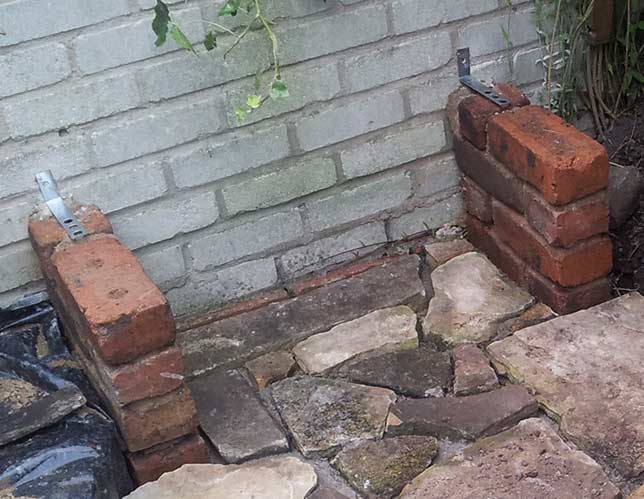
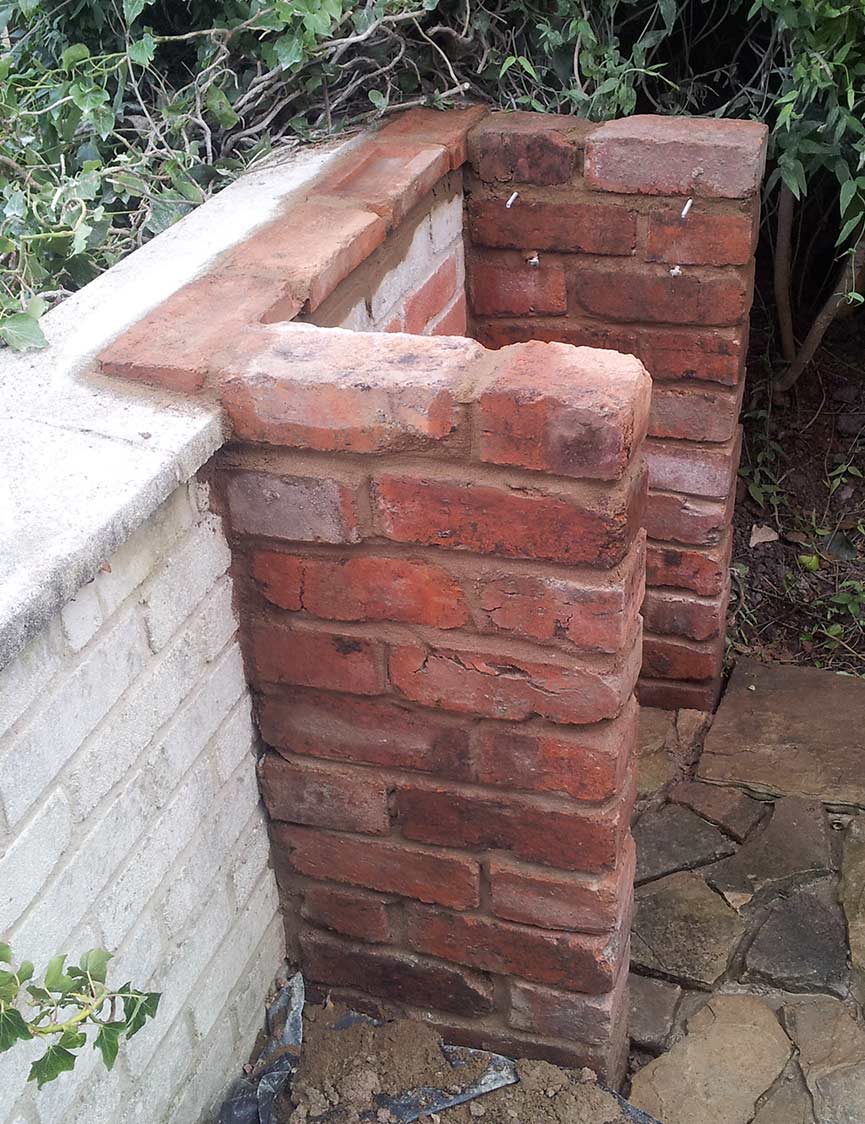
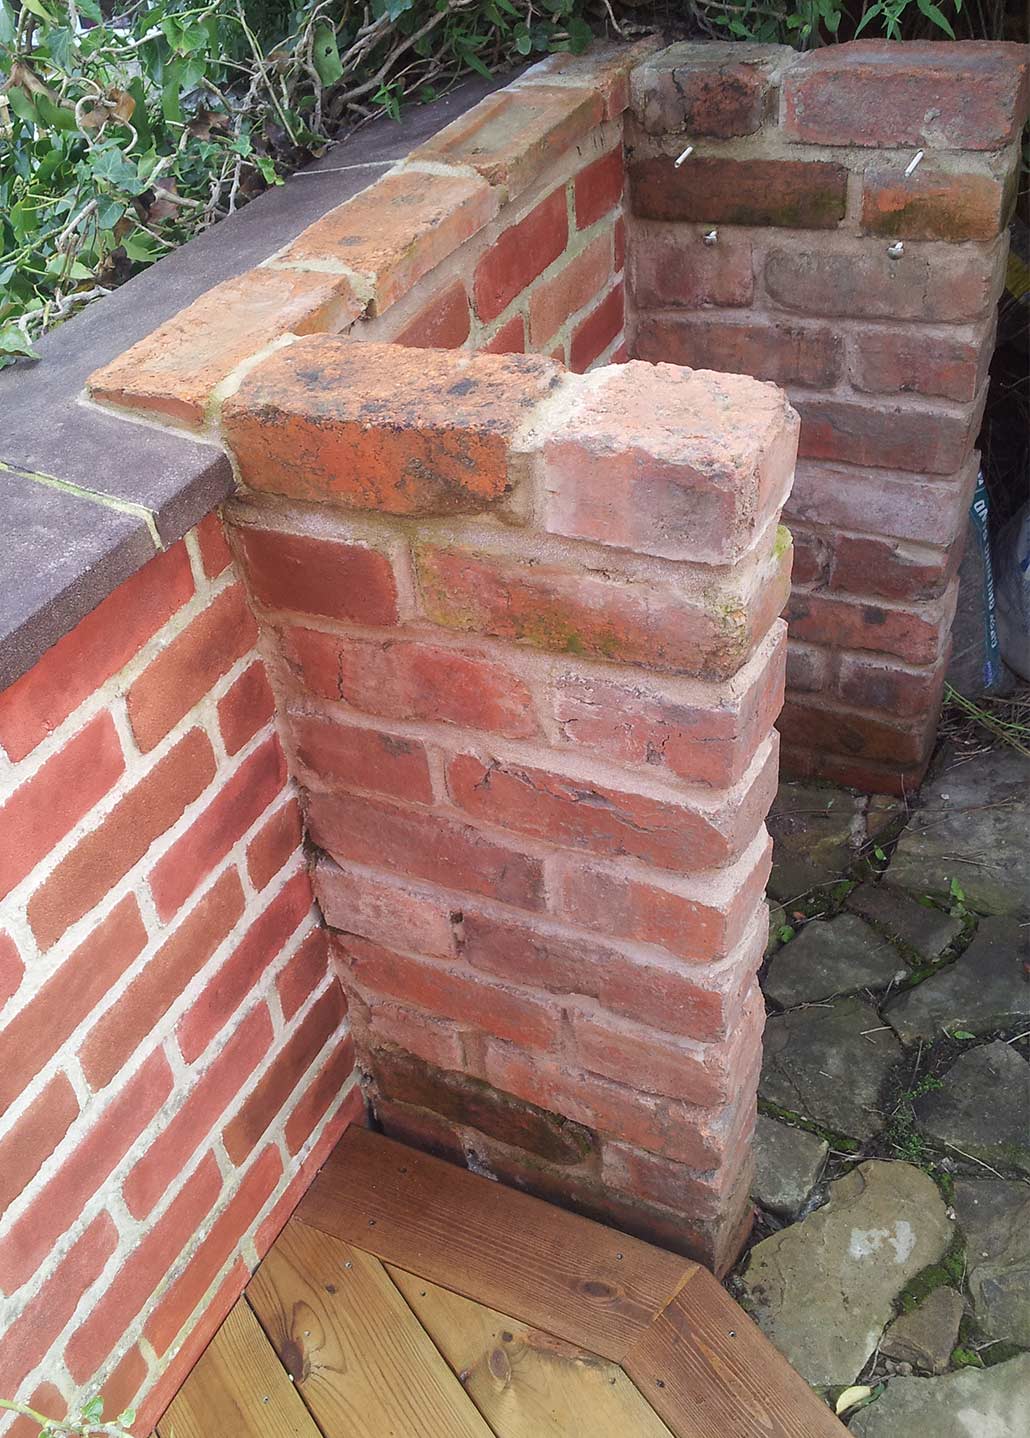
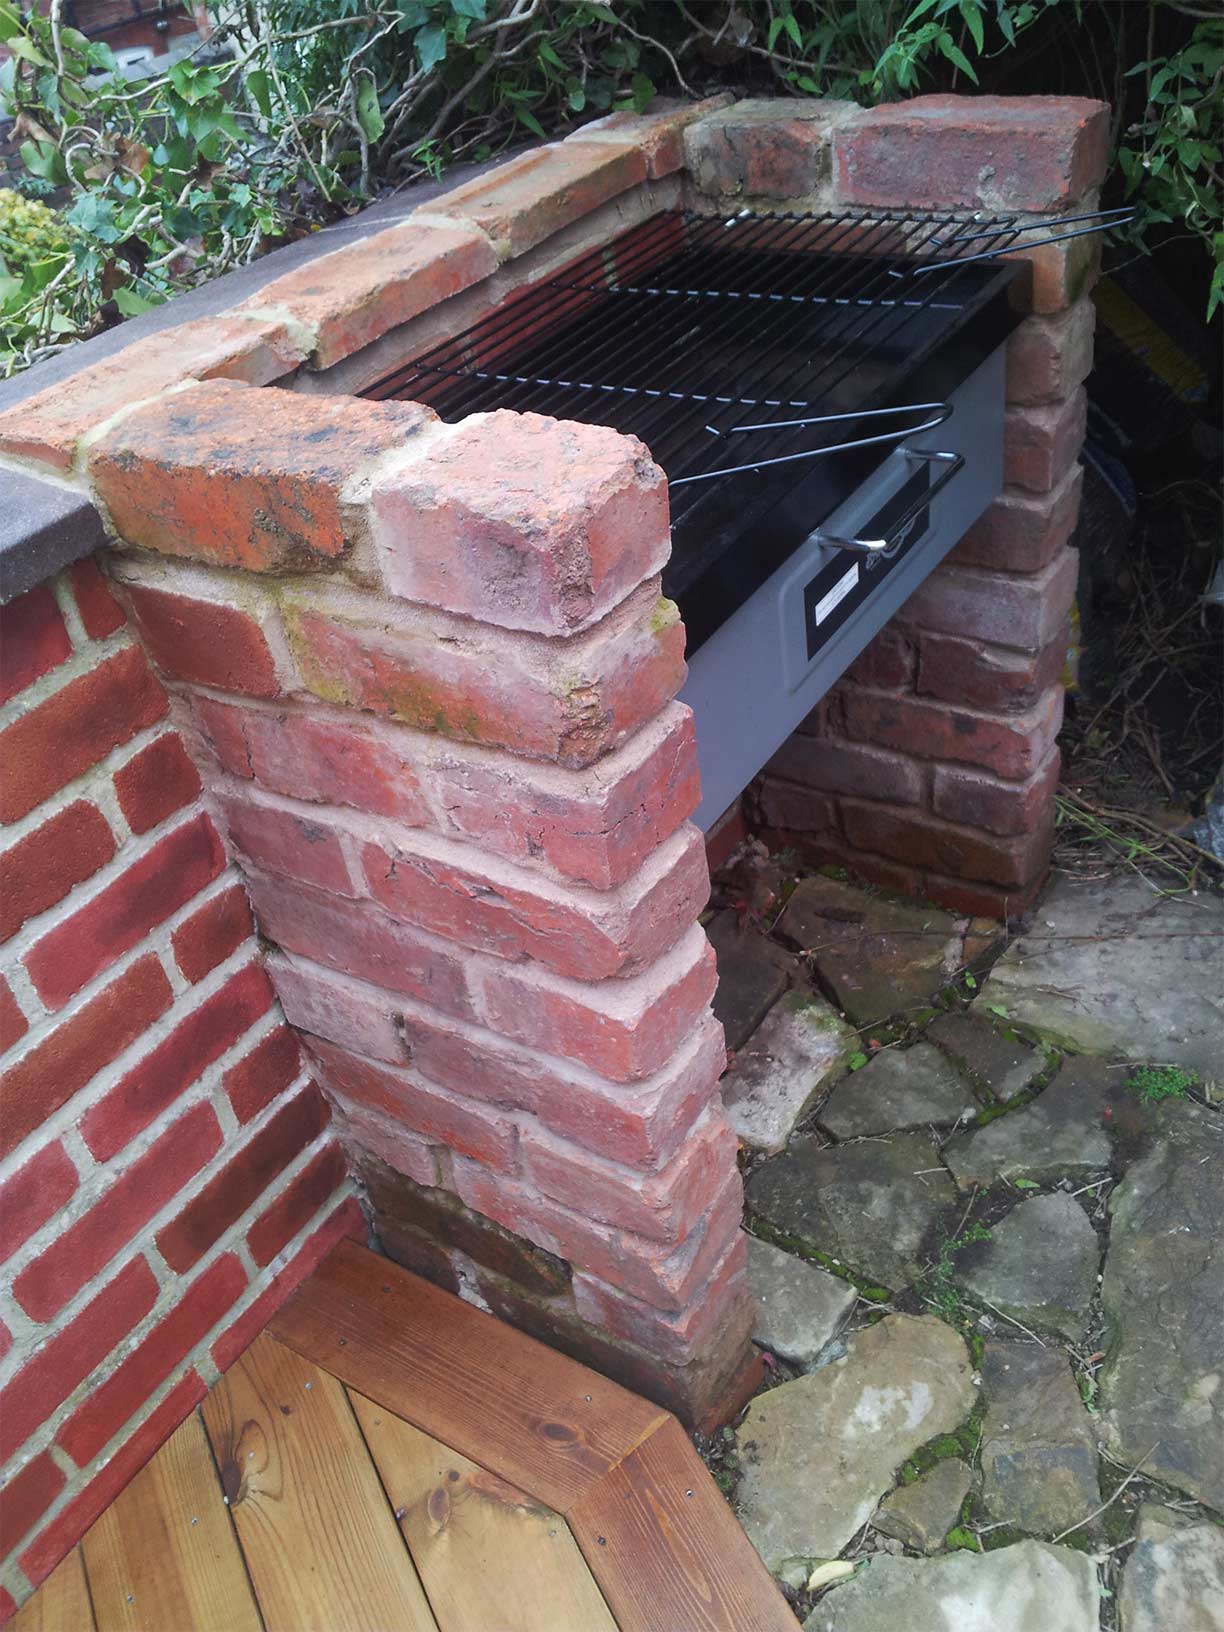
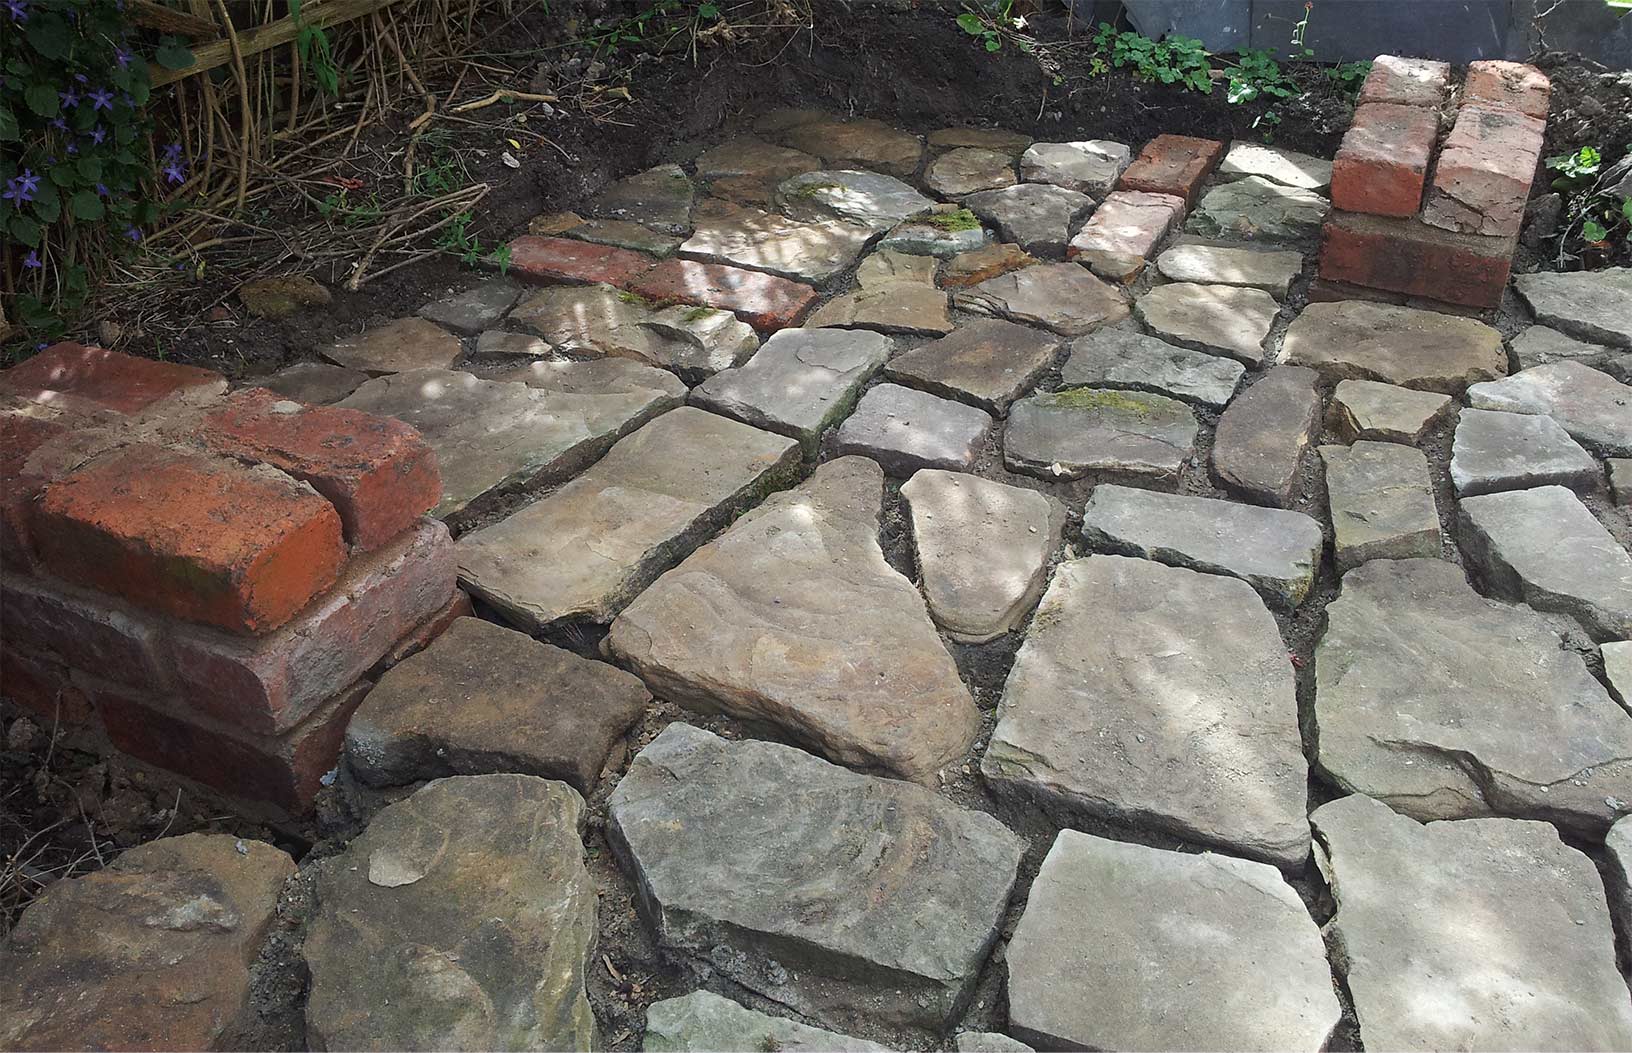
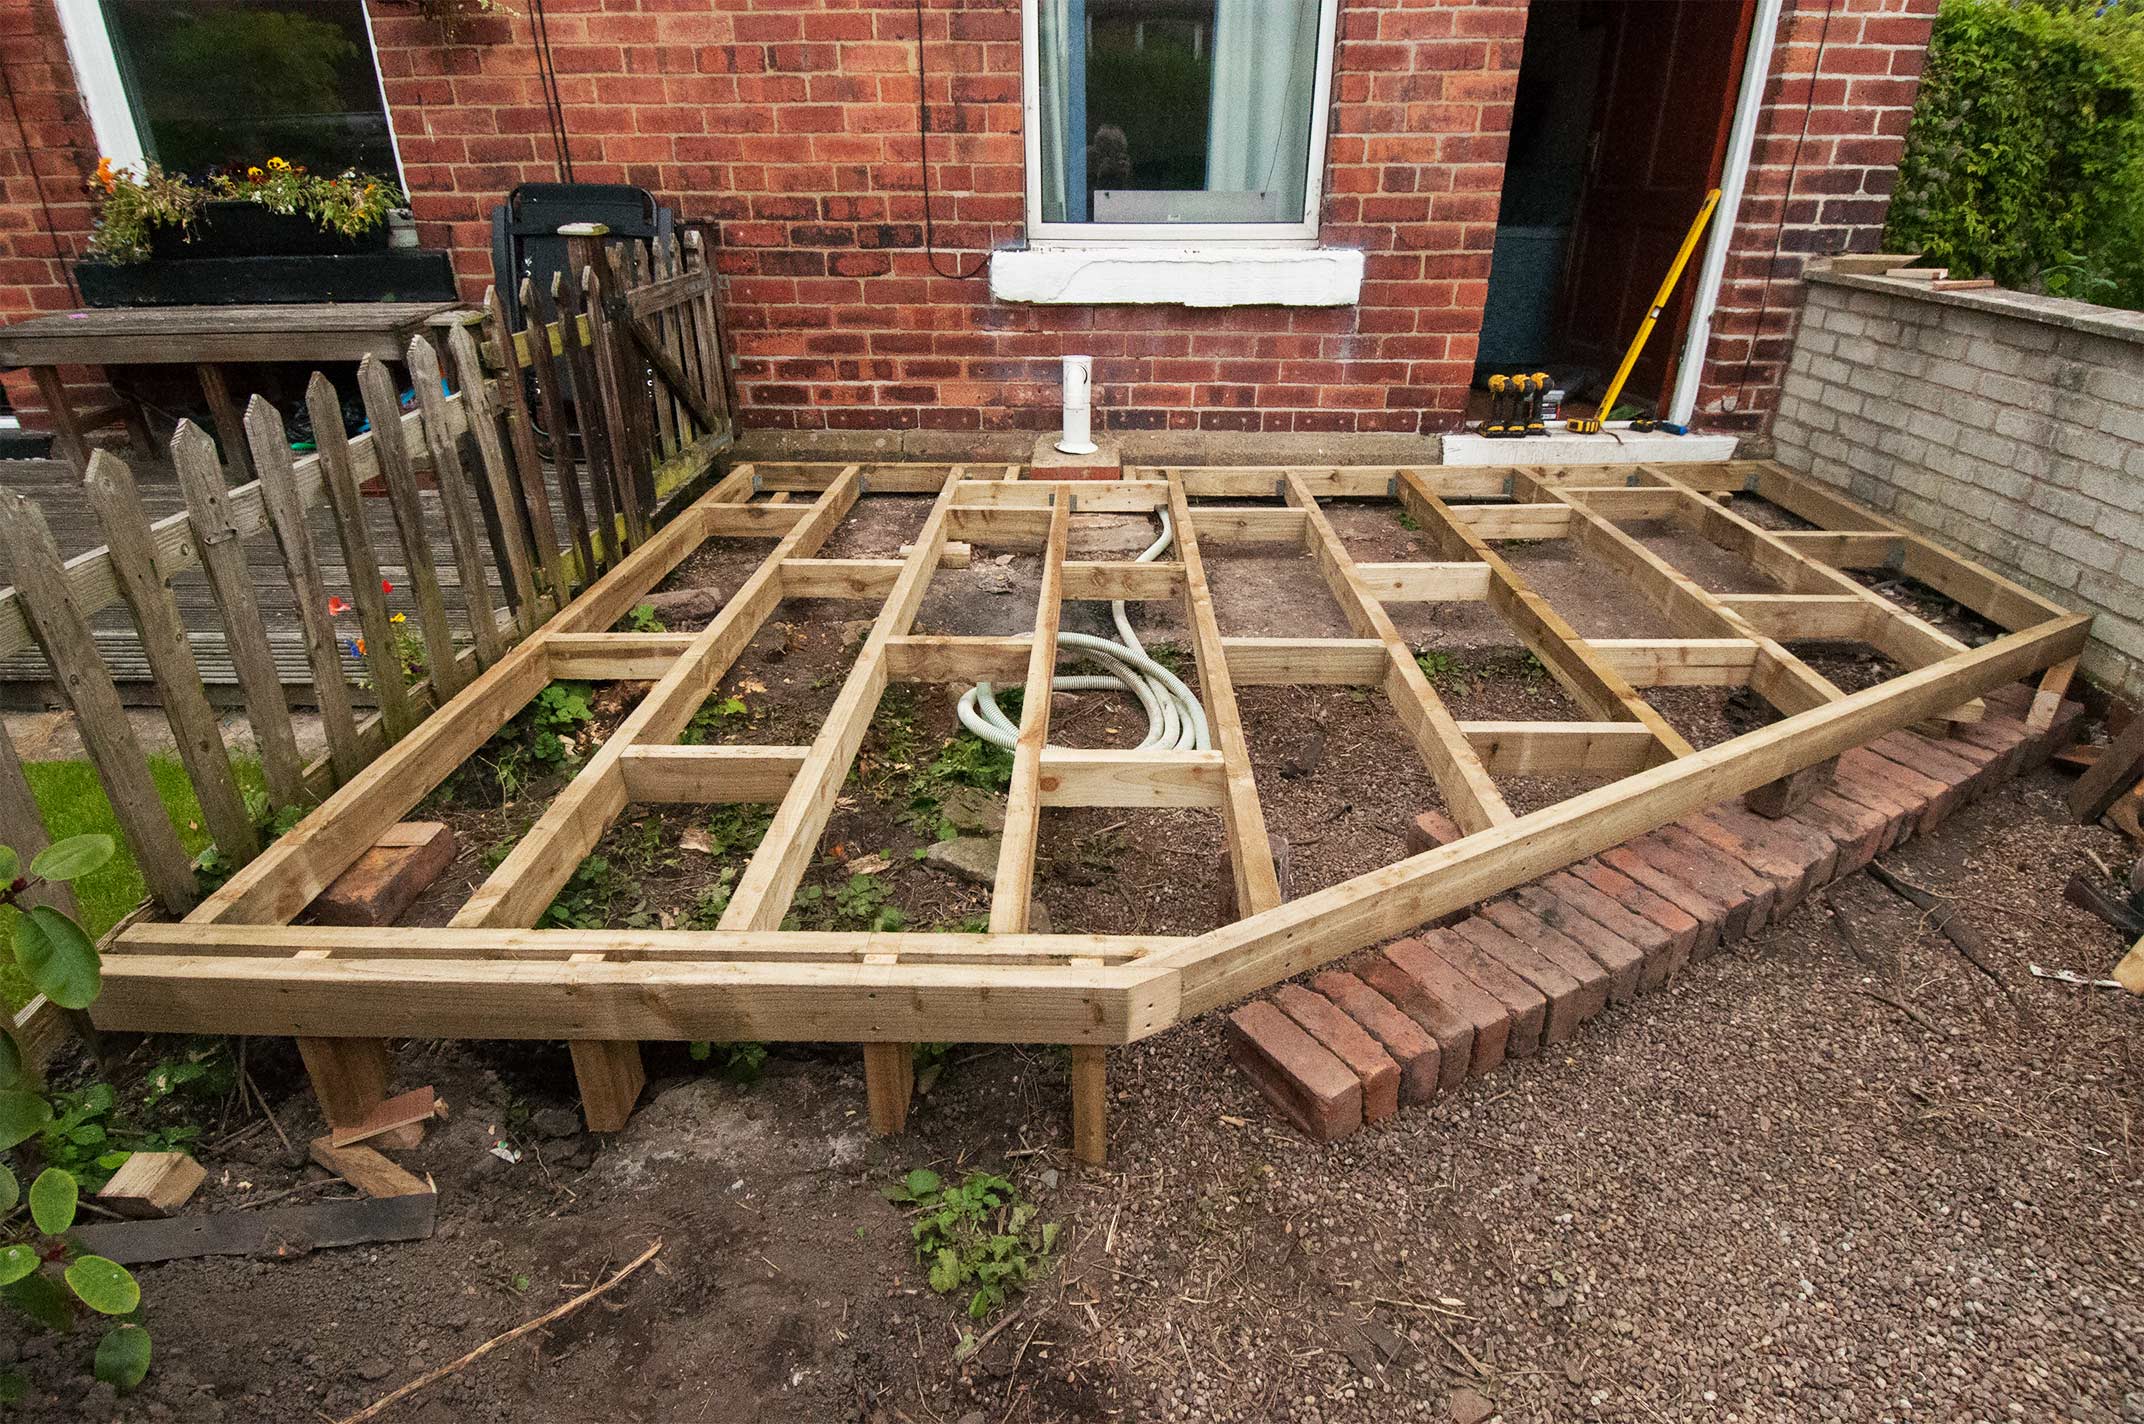
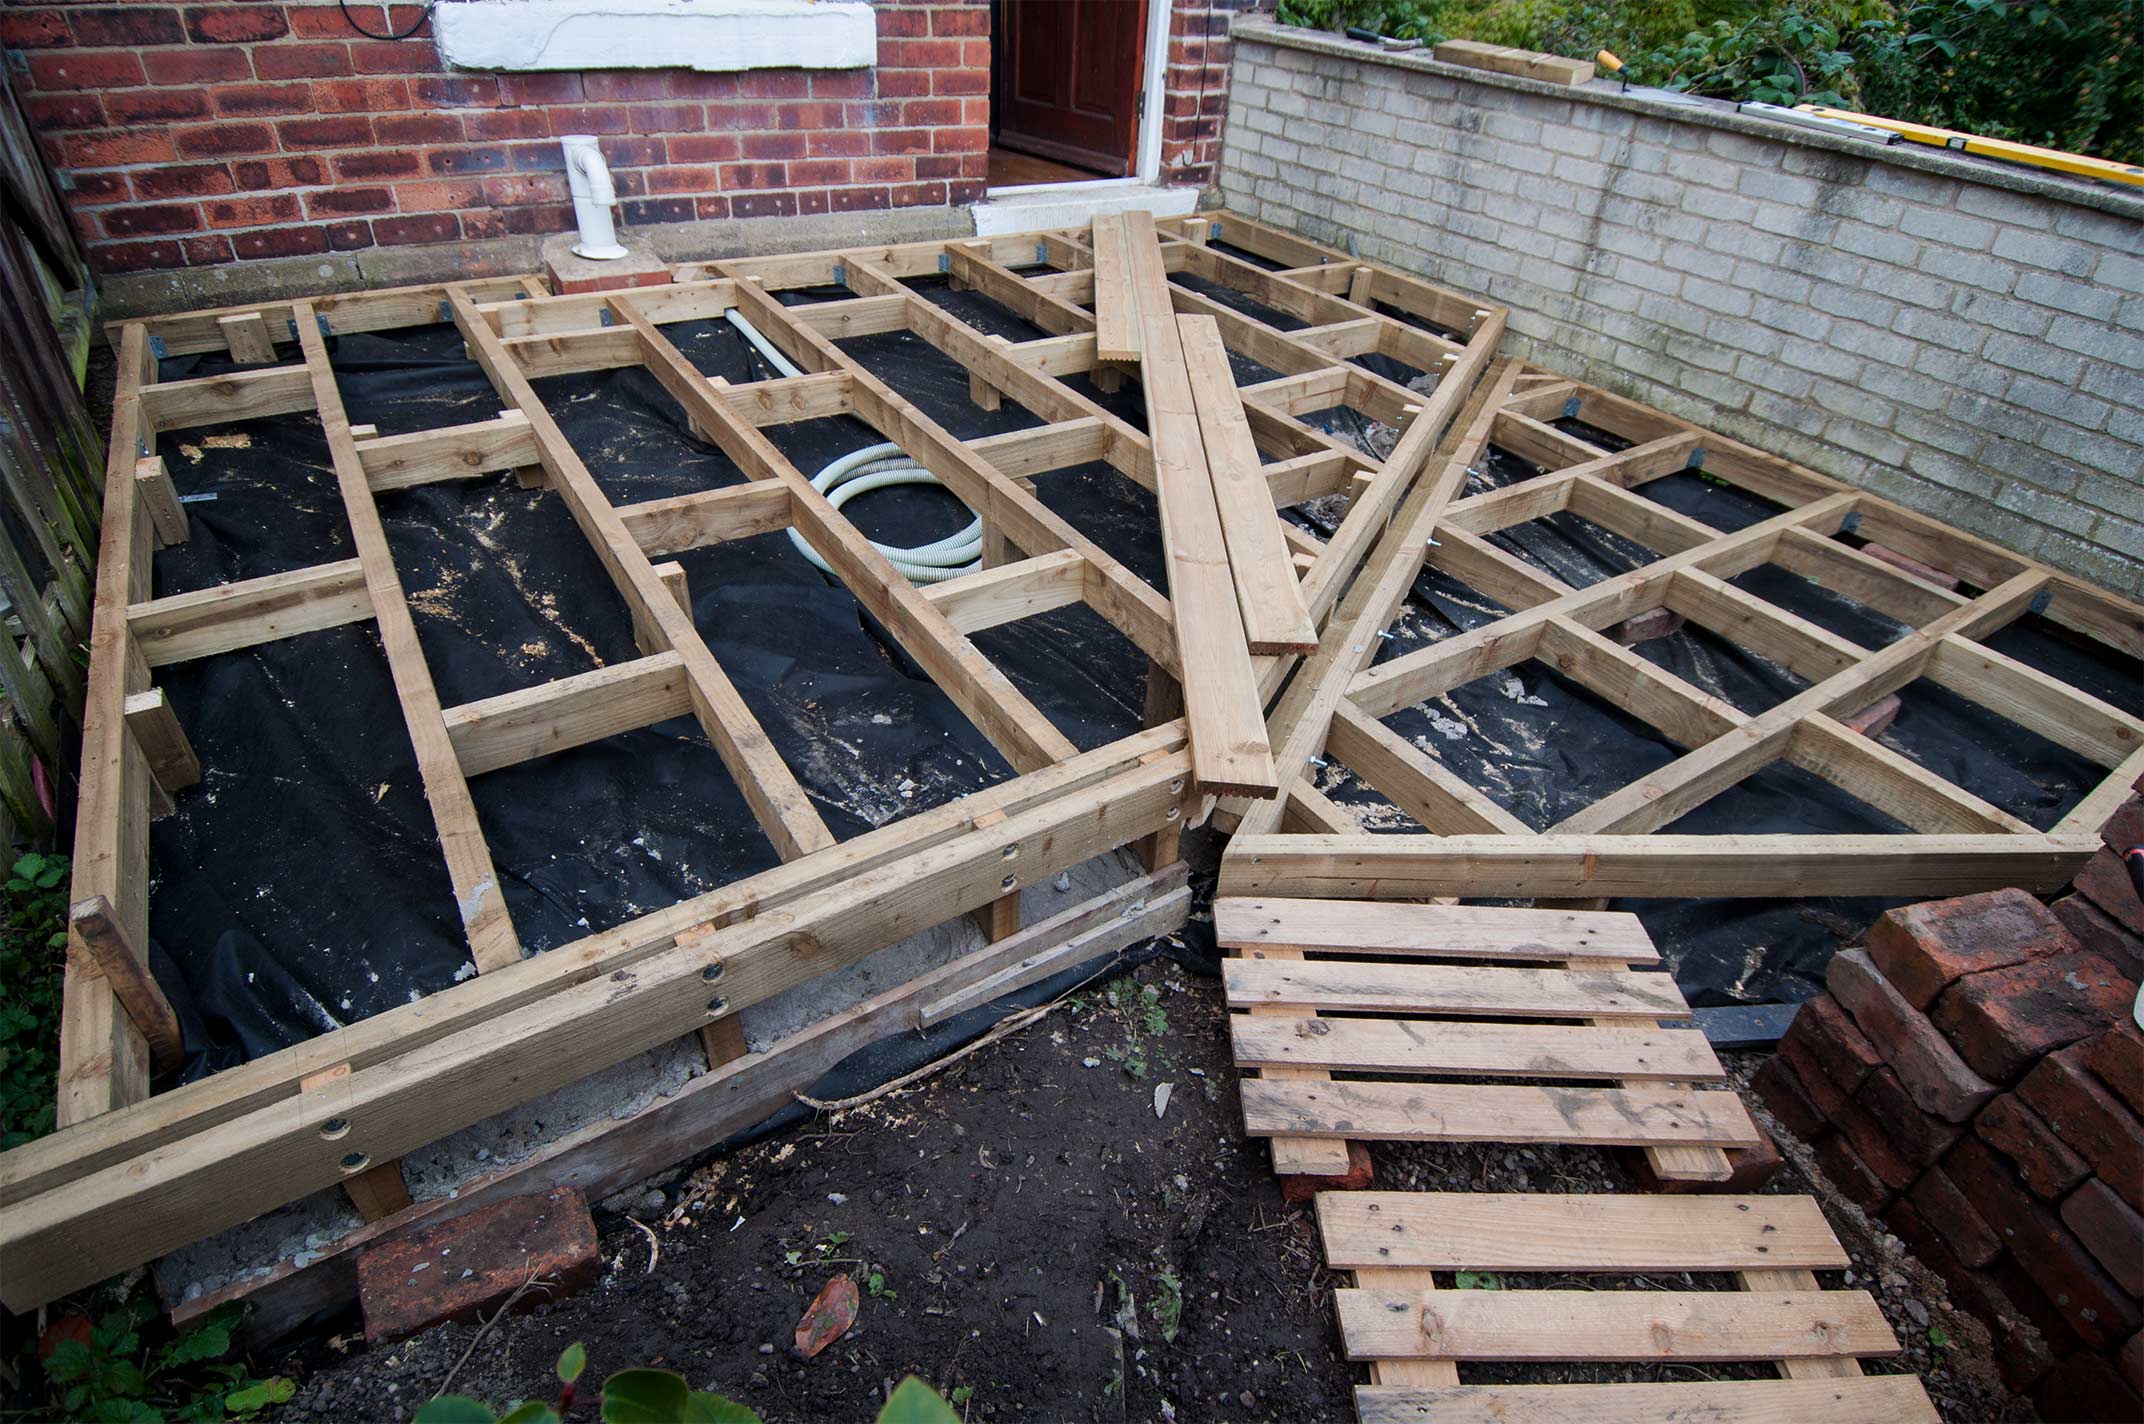
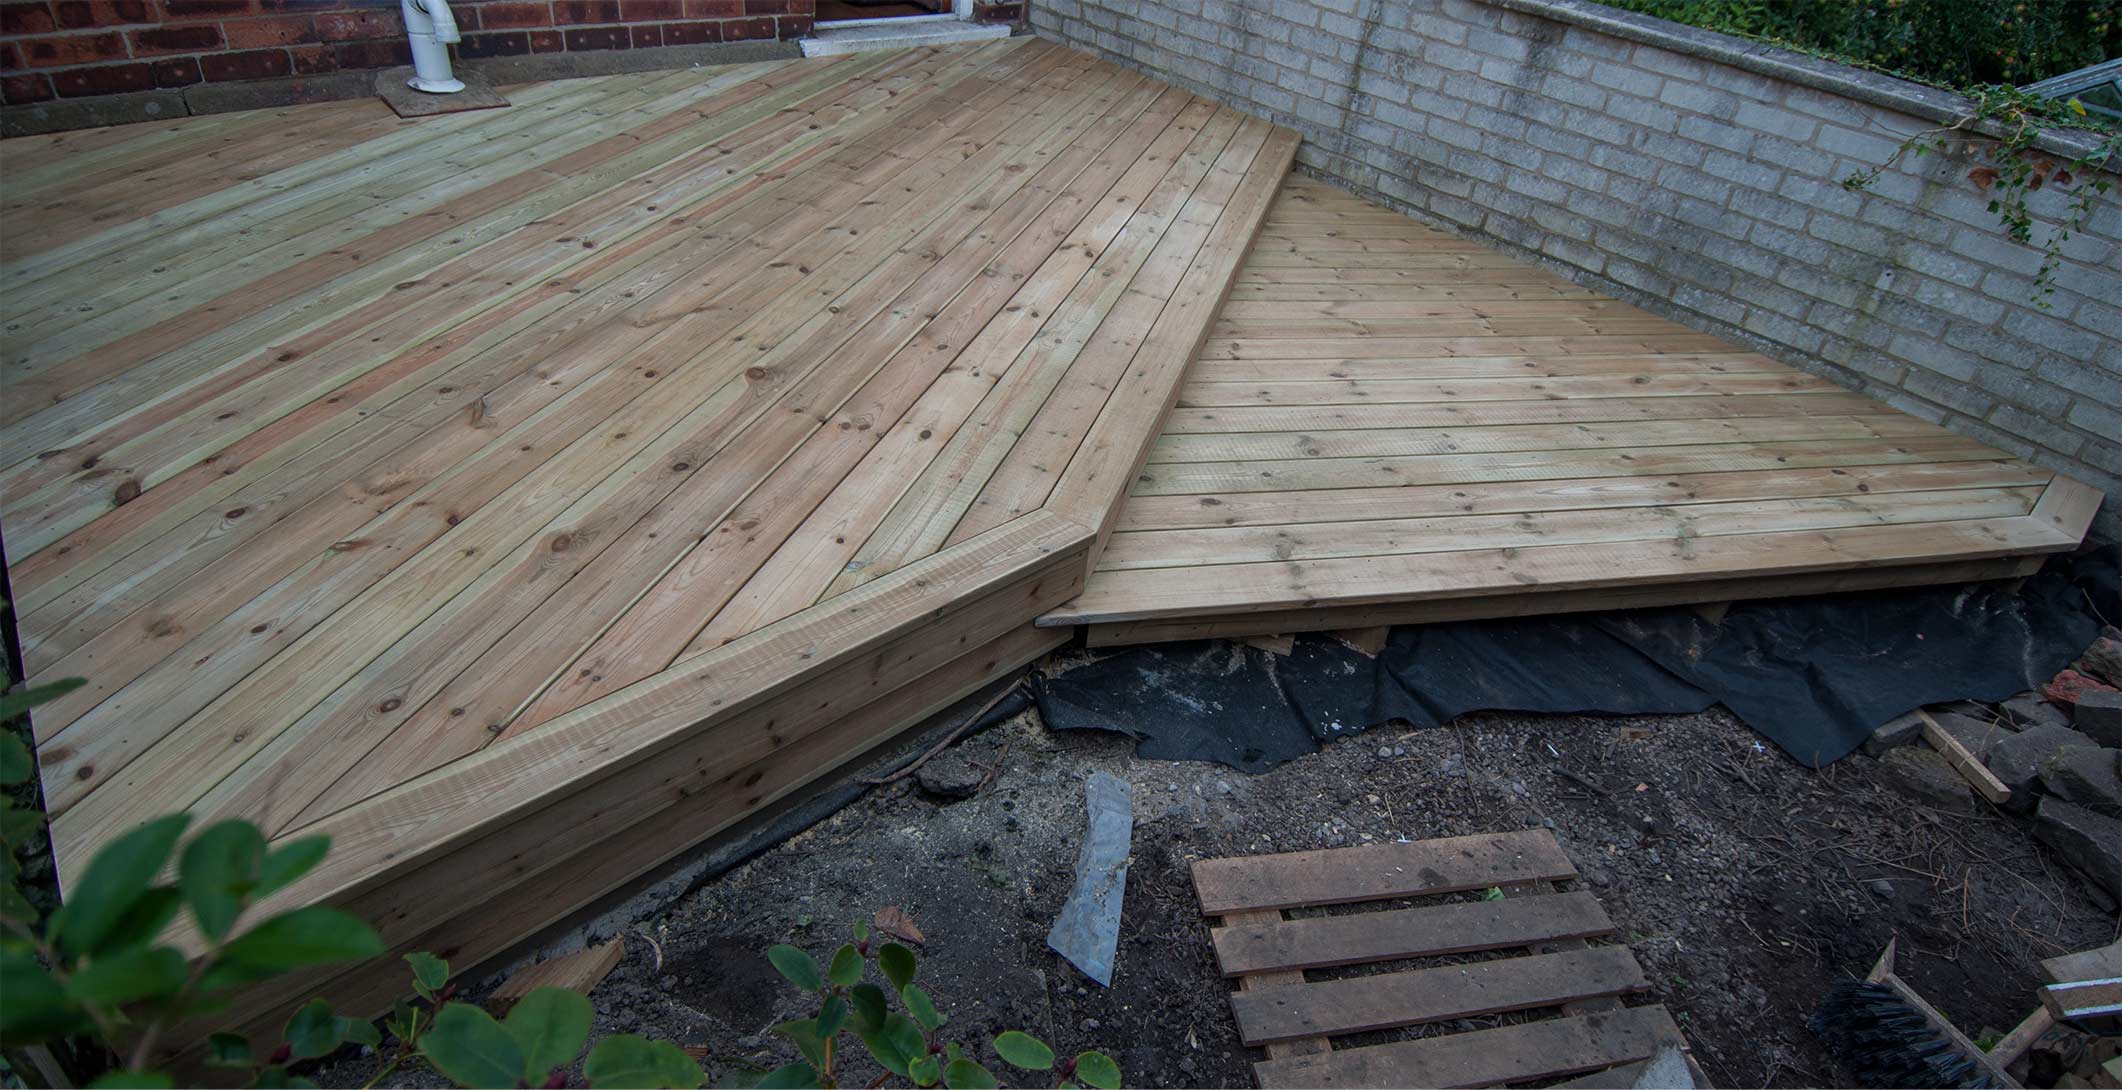
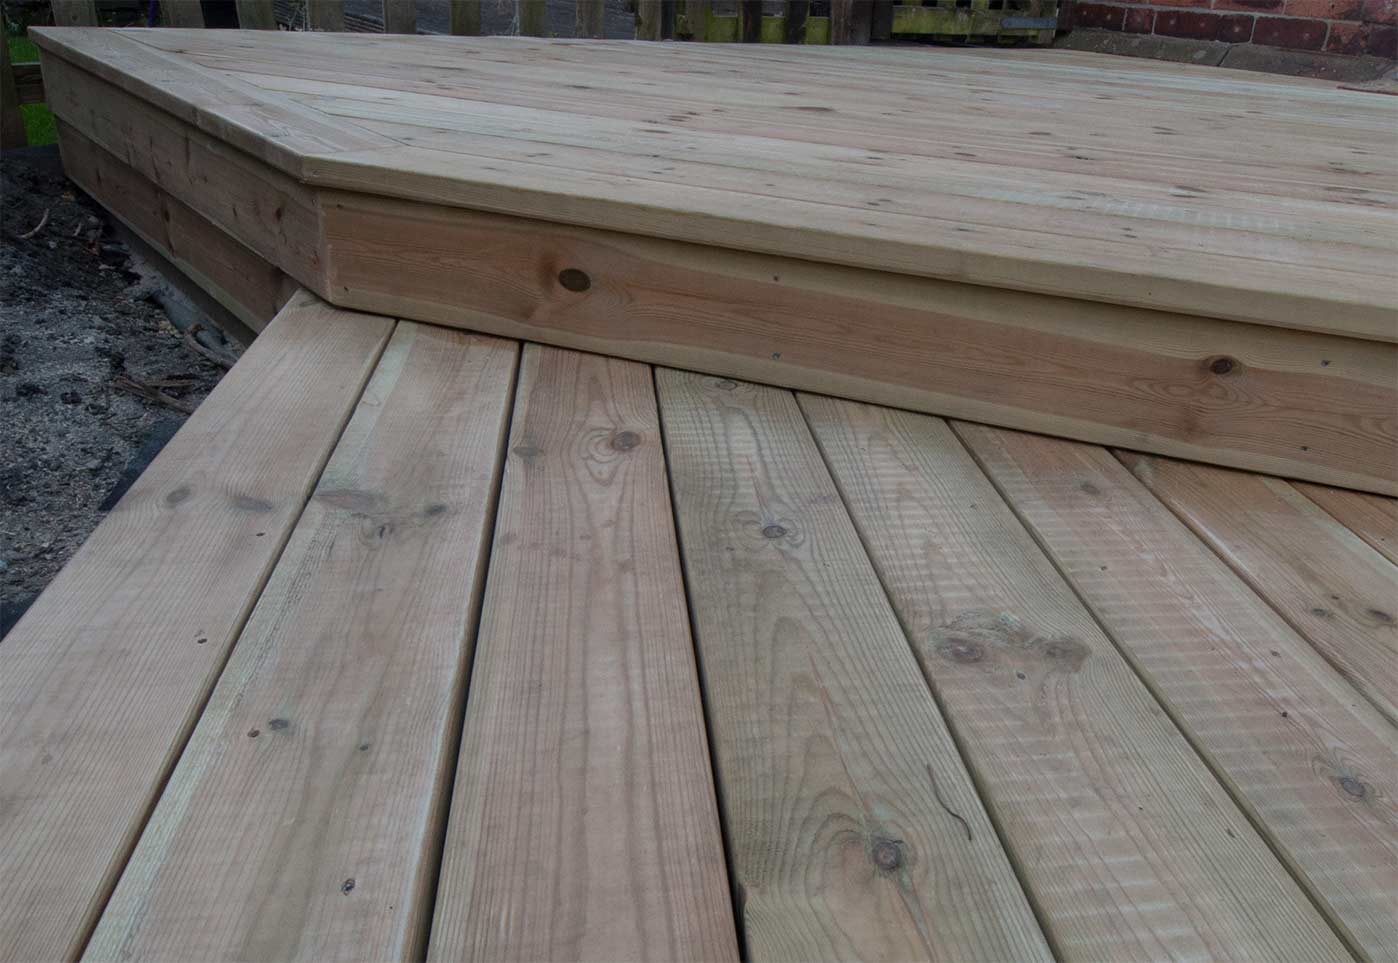
The location chosen for the corner bench was essentially into a hedge and against a tree. I dug out the soil to set concrete footings for the brick built pillars. The footings were set deep enough to allow the patio to be built over the top.

Bricks stacked to get a visual feel and position for the bench
With timber added, yep, seems to work

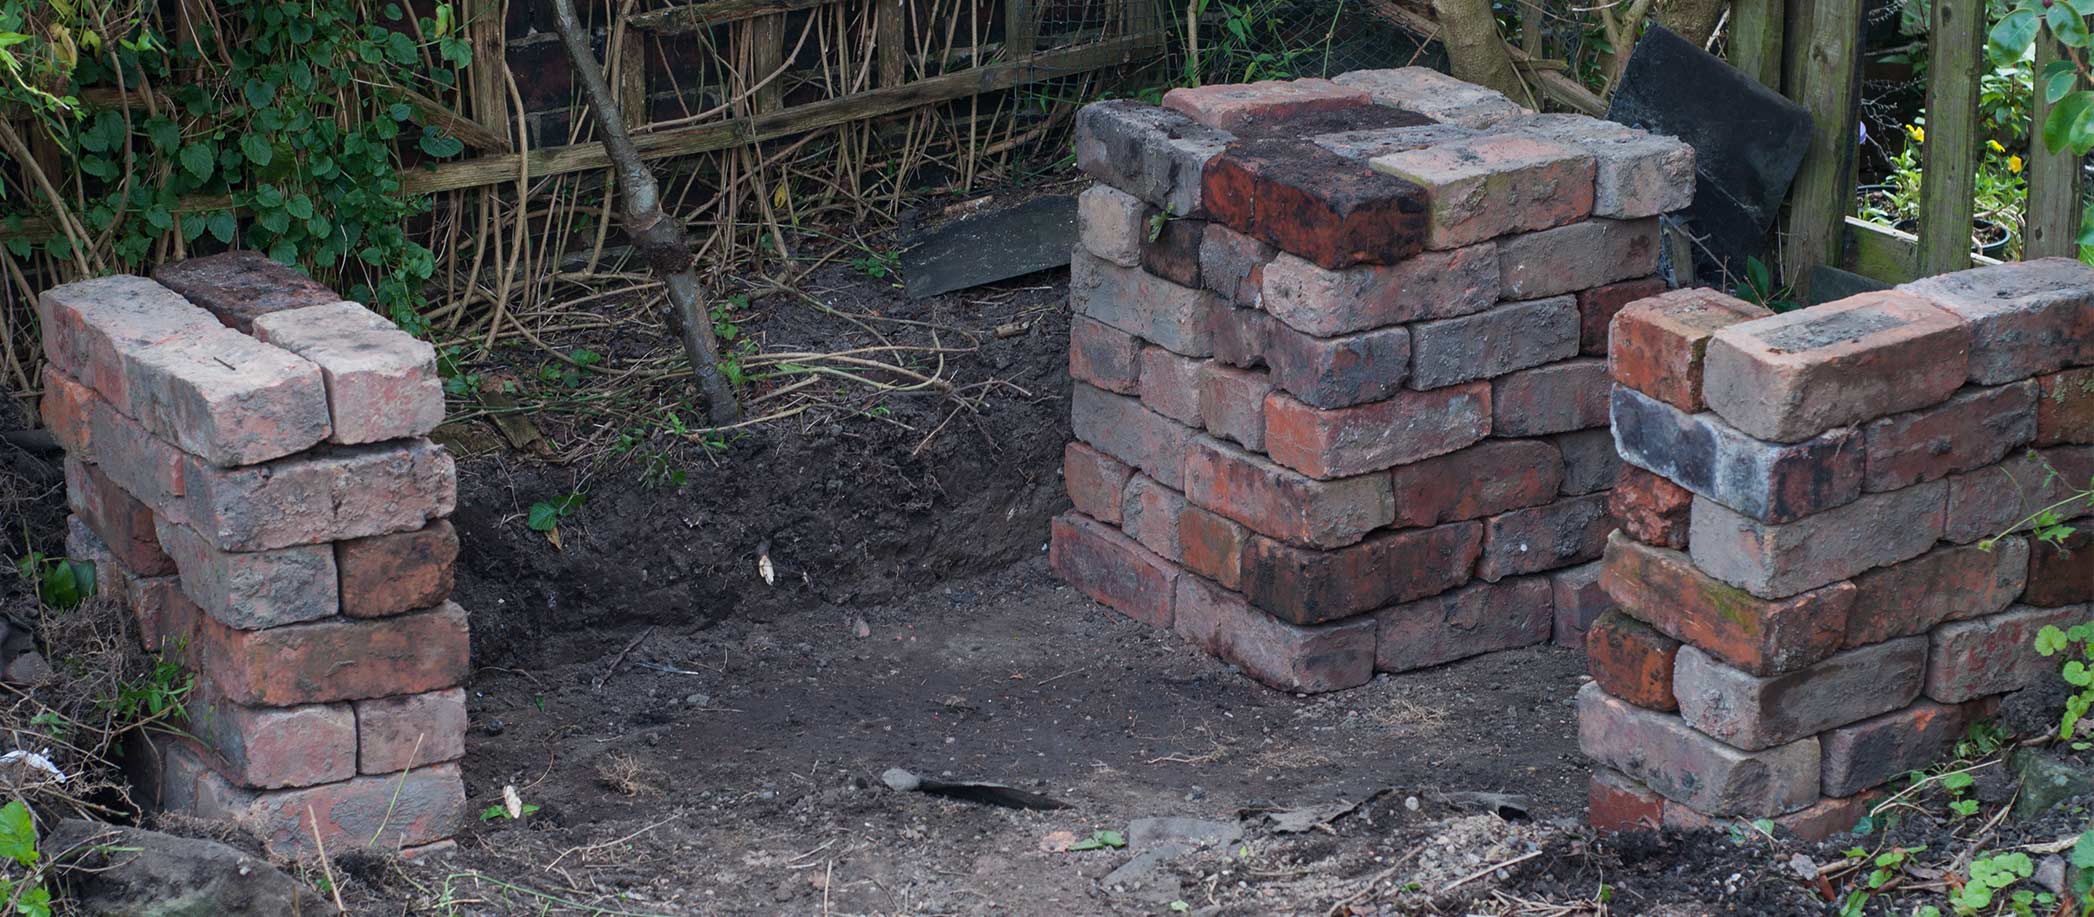
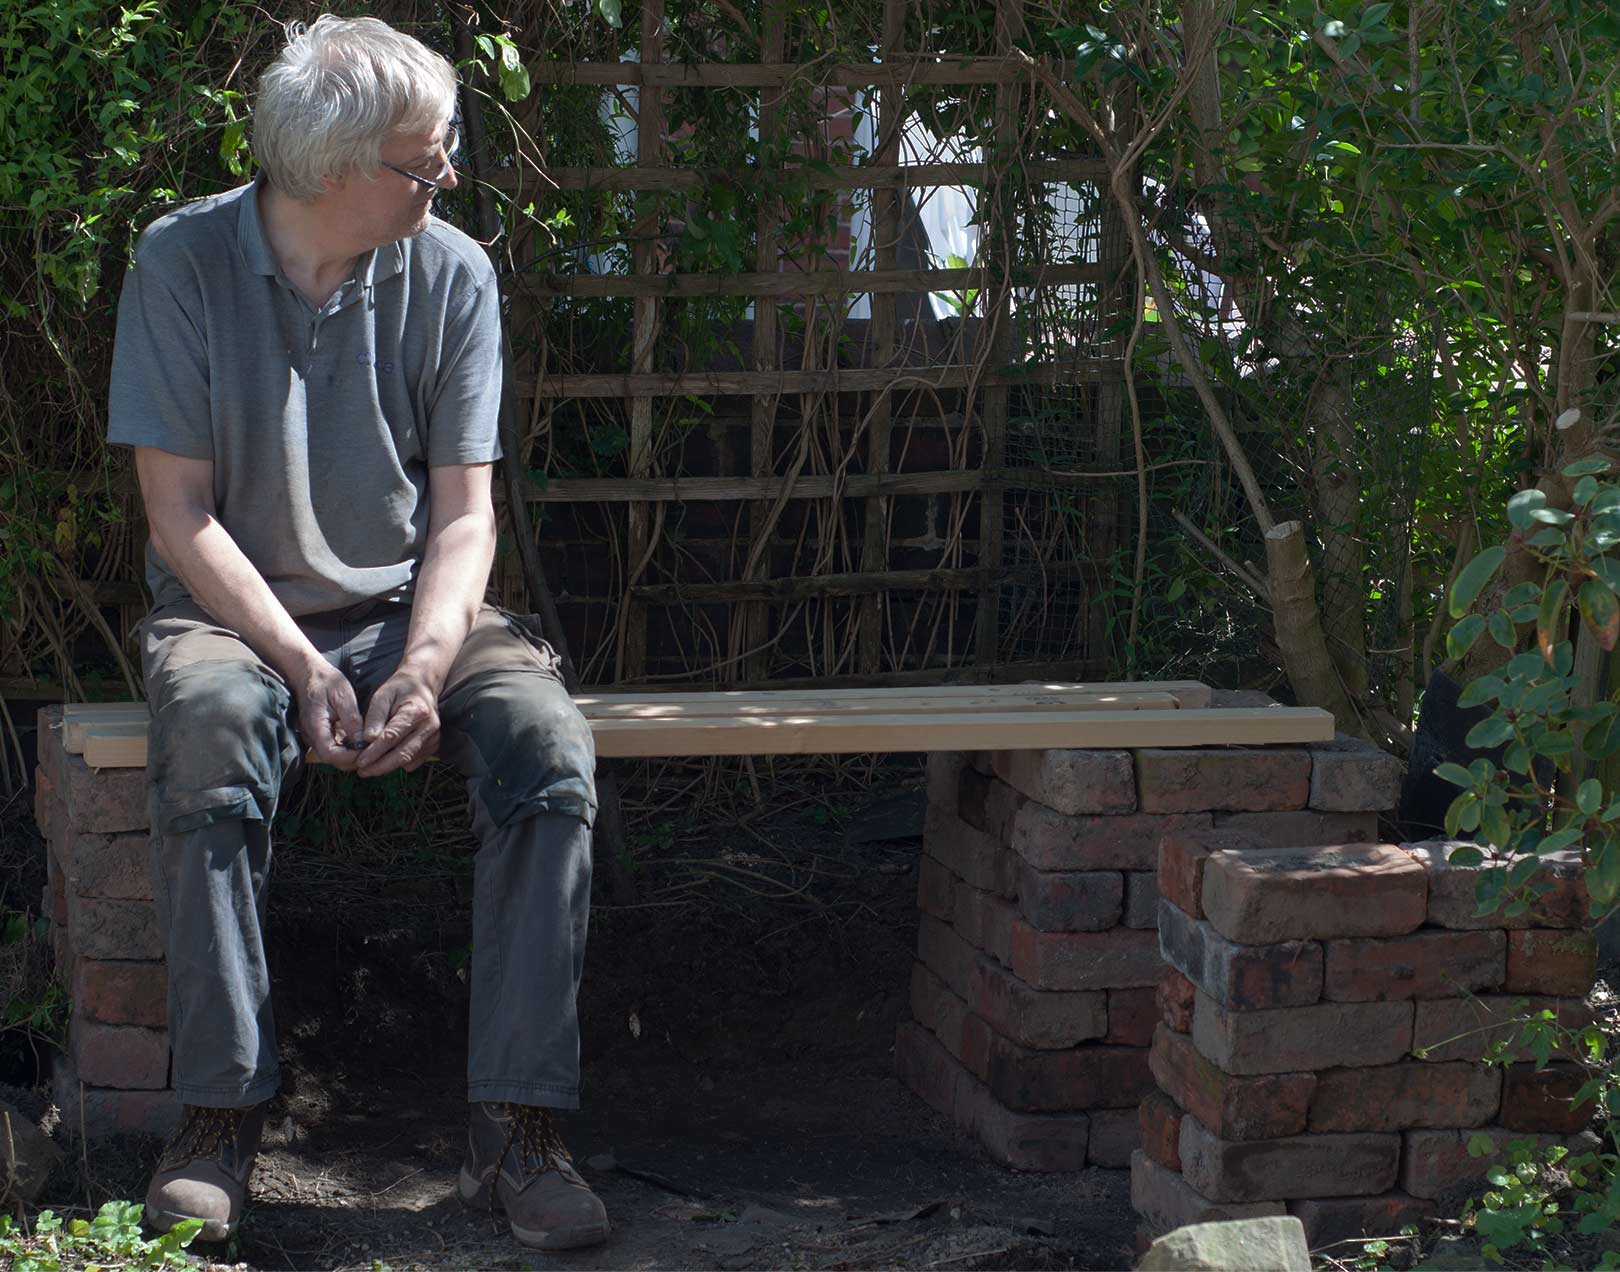
To verify the exact location for the bench, we stacked bricks and dropped some timber on to effect a bench, all was good. Once the brick pillars were built it wasn’t going to be easy to relocate it!

Concrete footings including shuttering
Concrete footings for bench pillars including shuttering

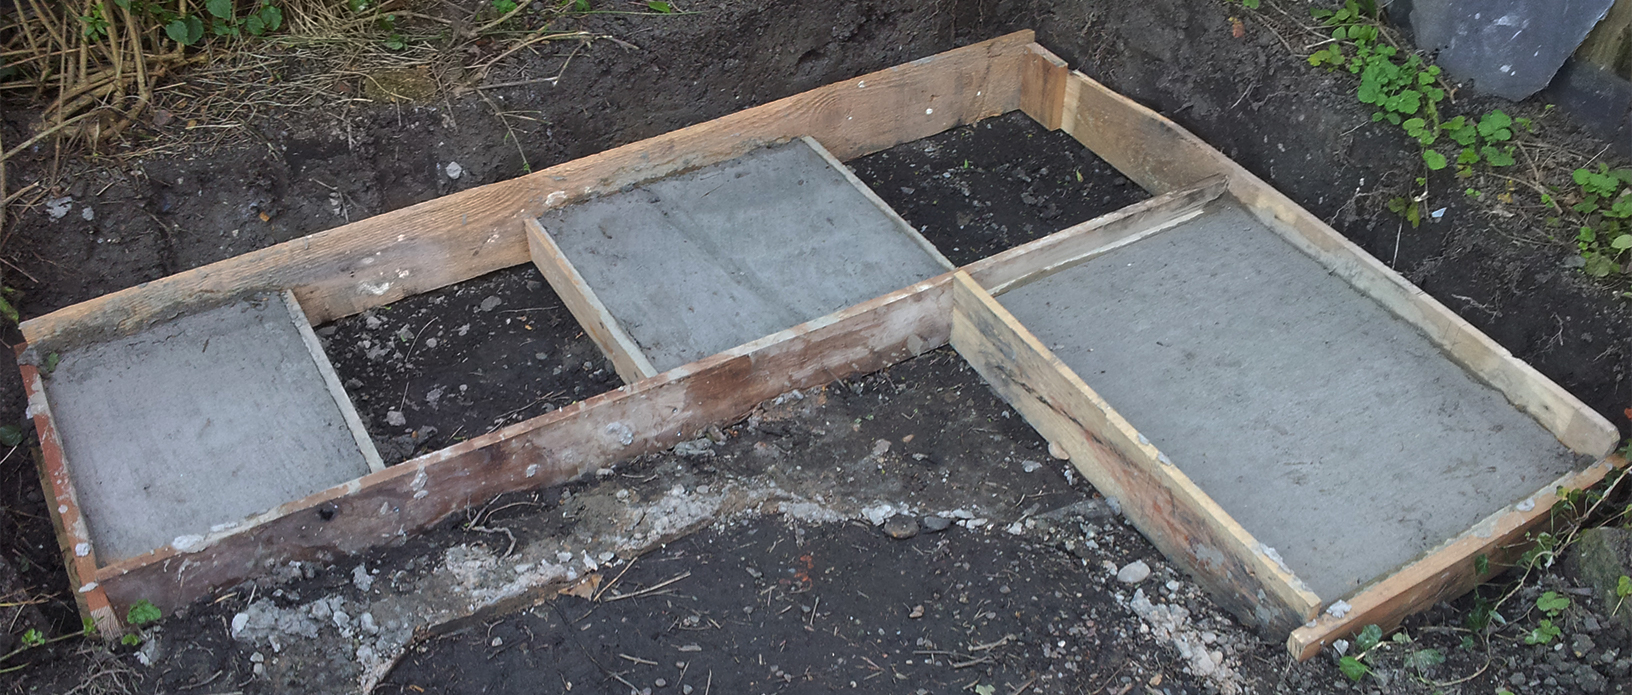
Making some shuttering, the concrete footings were poured for the brick pillars

Careful design and ergonomics were employed

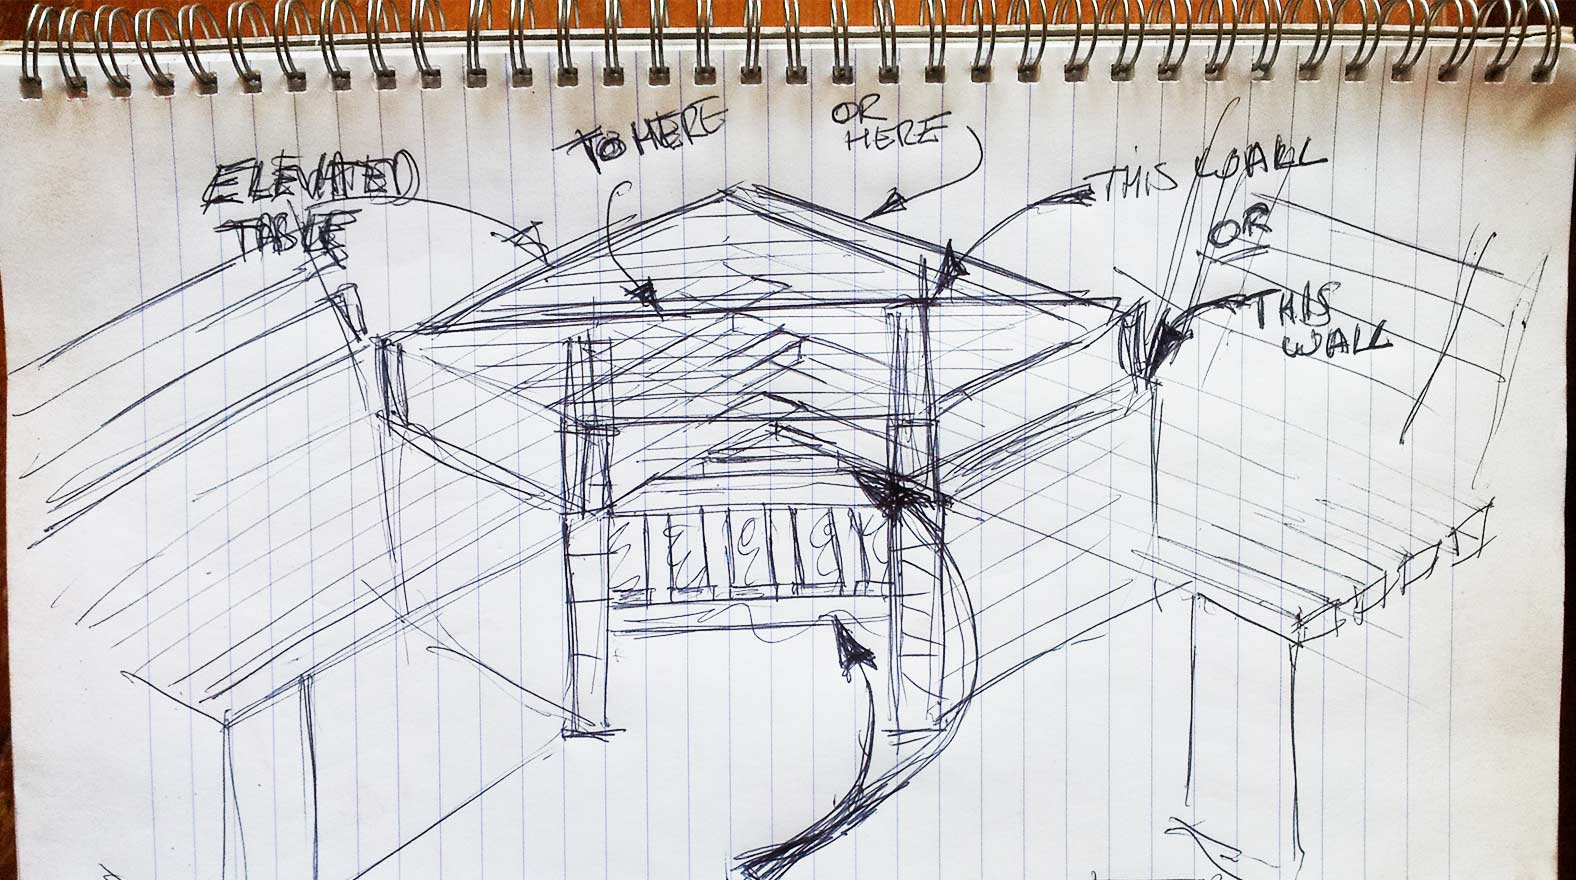
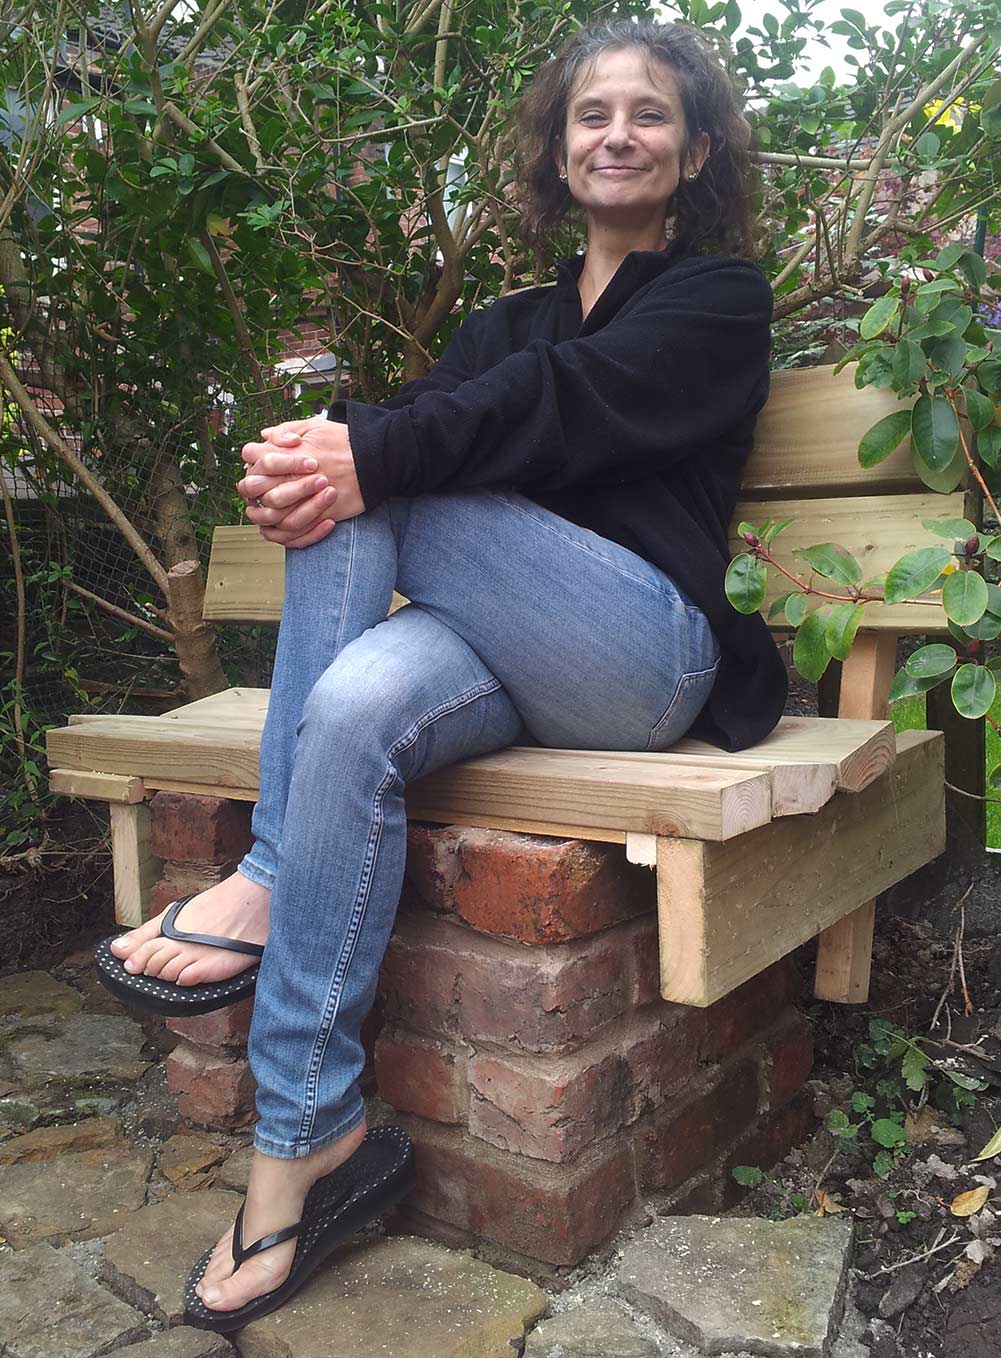
I researched, designed, and then built a prototype for approval prior to full manufacture, ensuring a comfortable bench for all to use.

The prototype gets approval

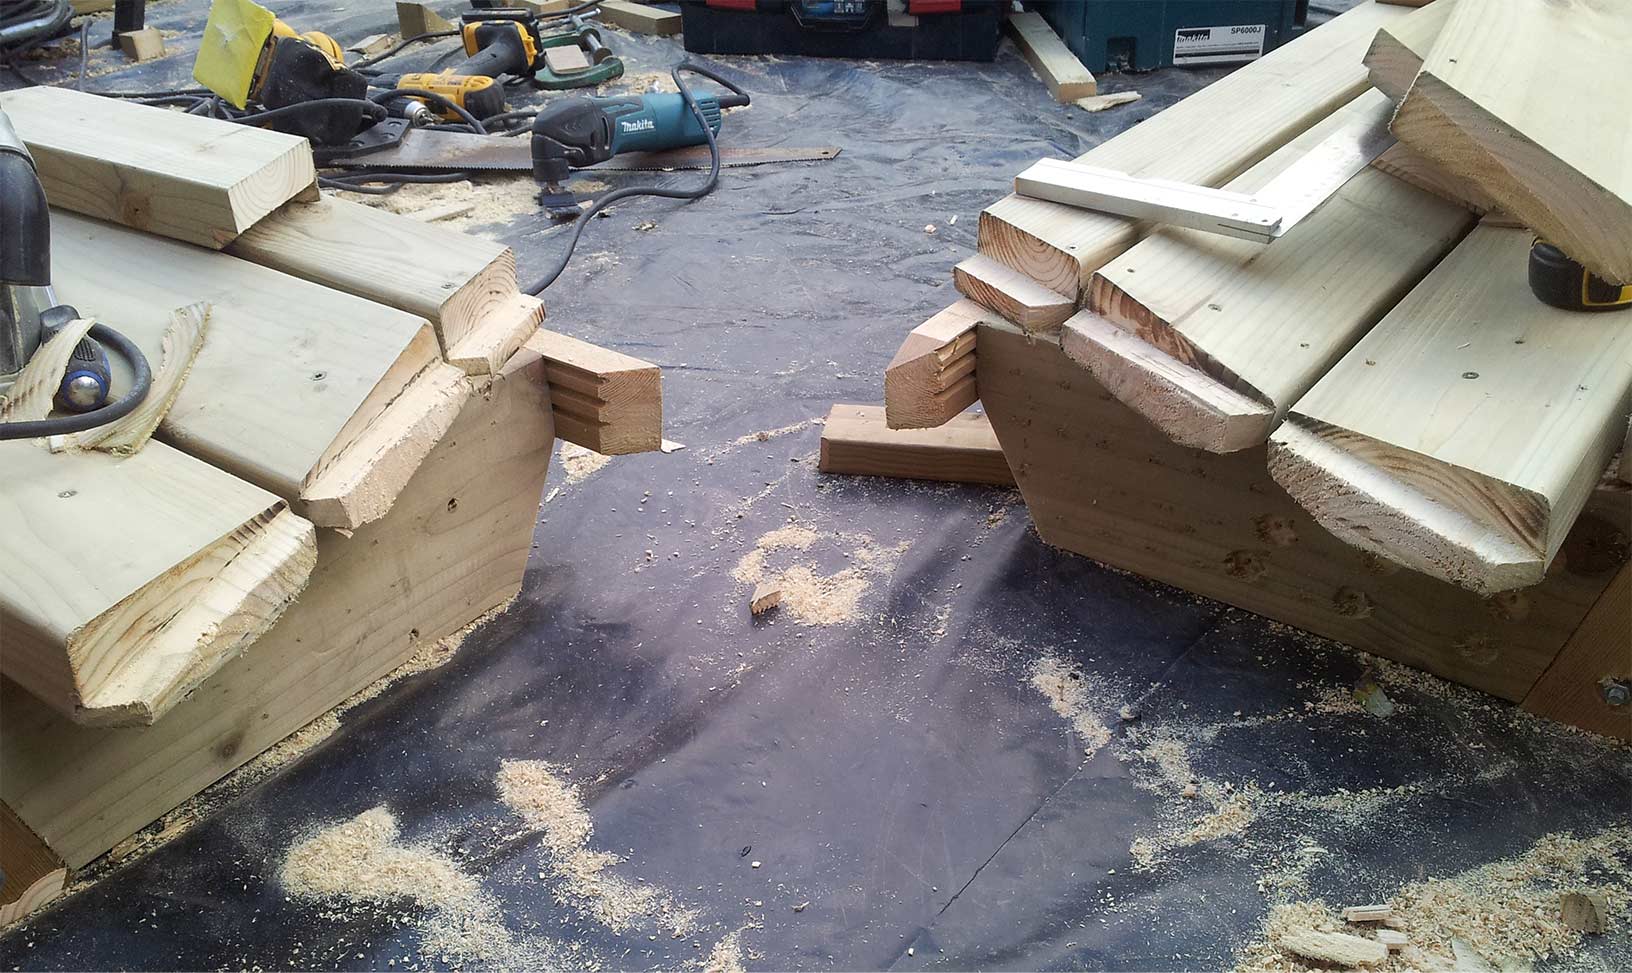
Initially an integral corner table was requested, but was reviewed and changed to allow a corner seat to be added which would accommodate more to be seated on the bench.

Construction of a strong self supporting corner seat
Bench completed with the corner seat

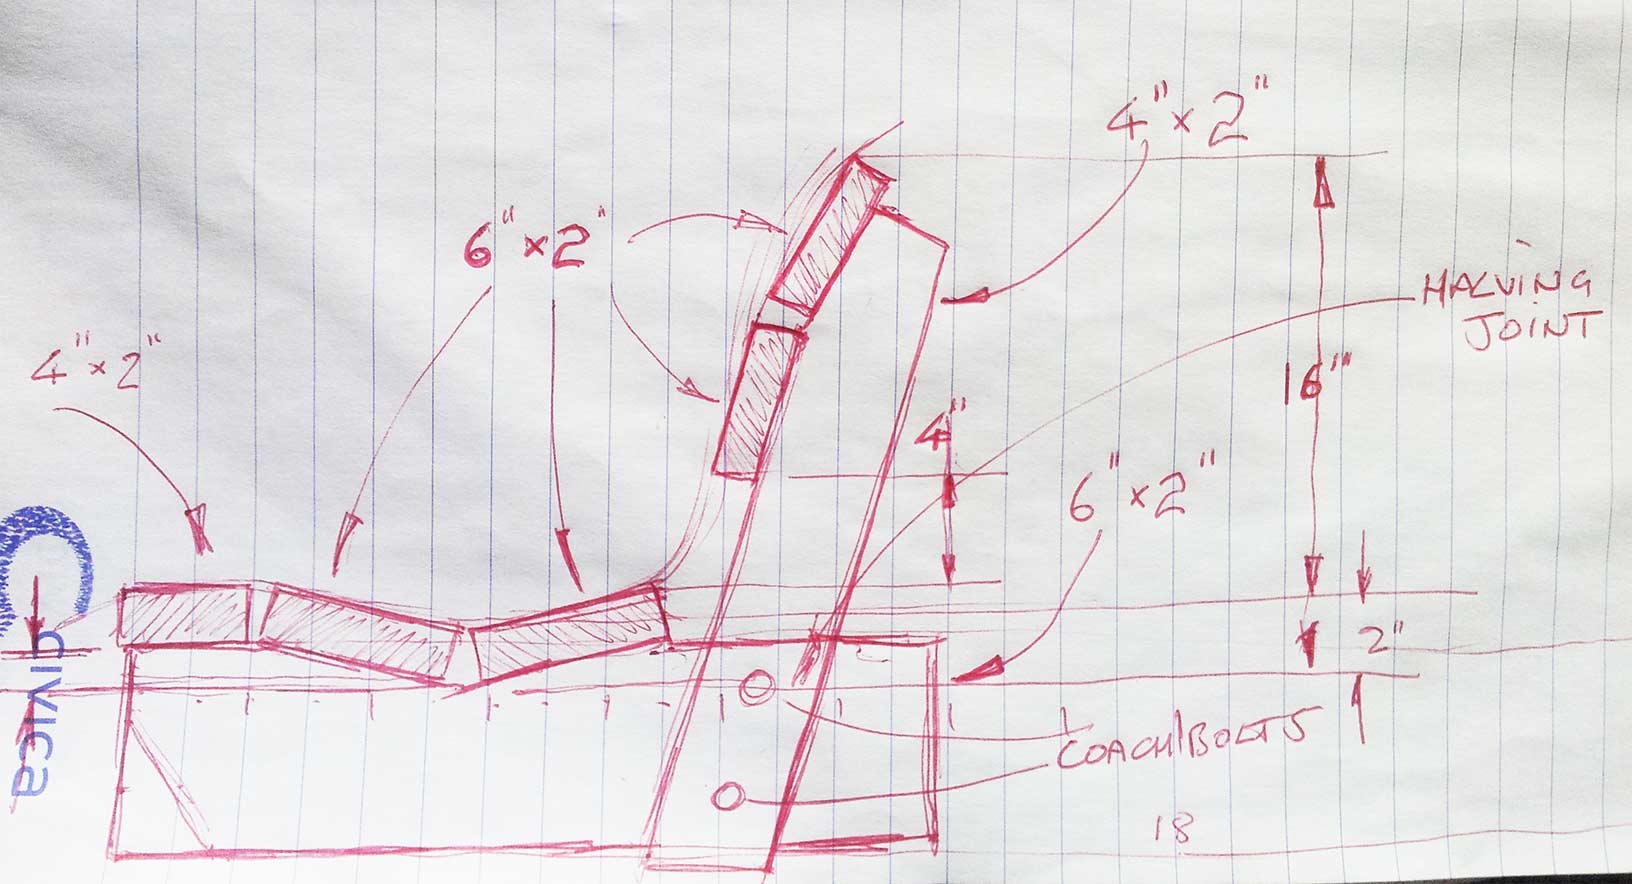
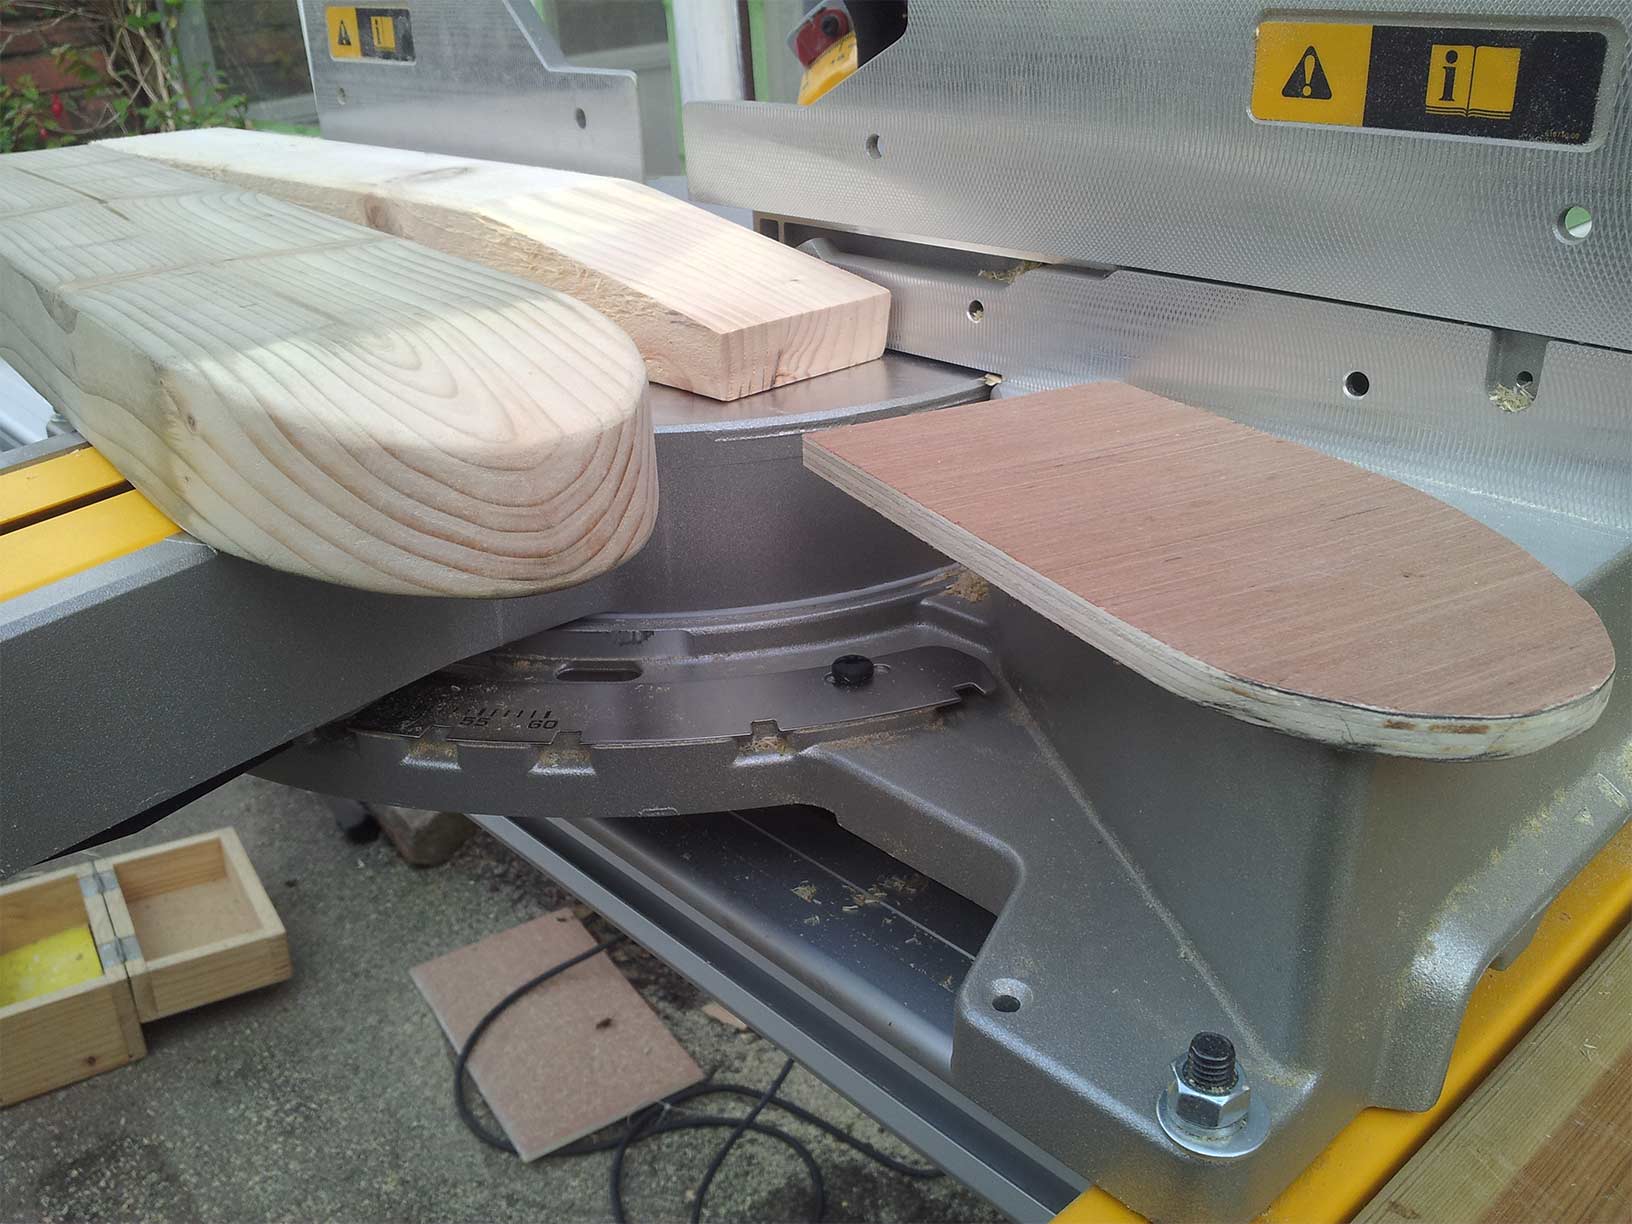
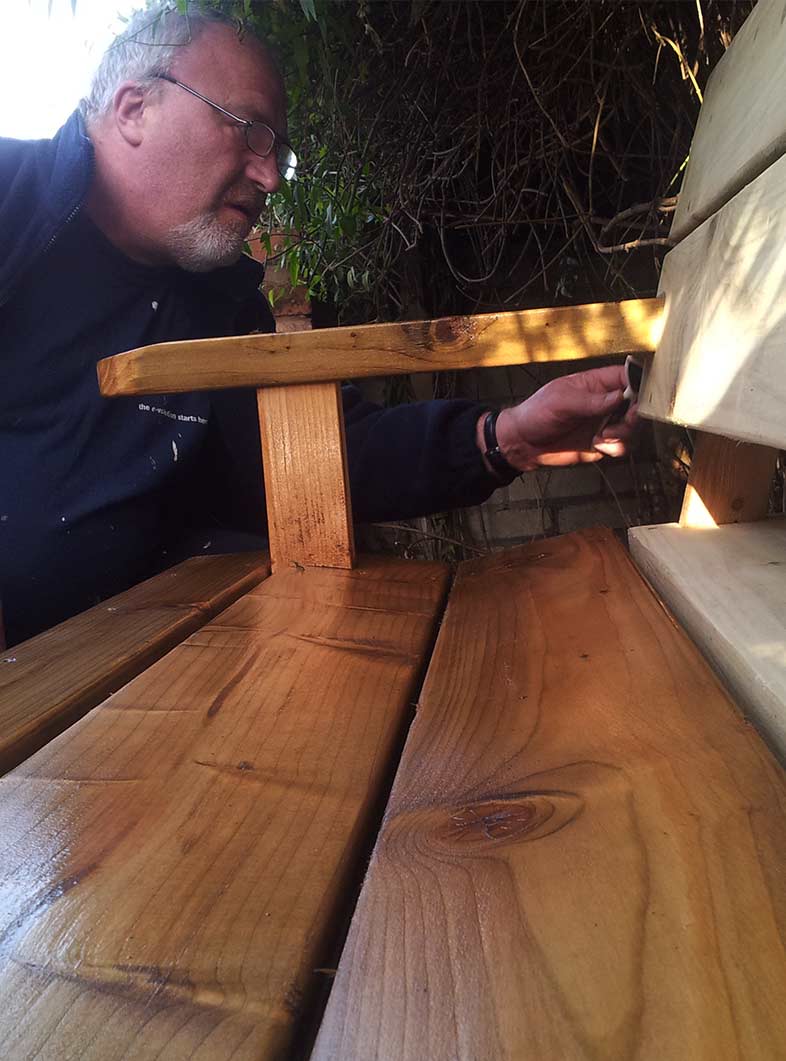
The brief was to have a ‘rustic’ bench, but for comfort and aesthetics, I shaped the ends of the armrests.

Shaping the bench arms using a profile template

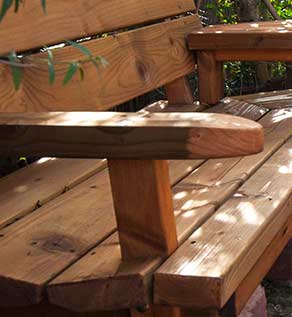
The bench arms and supports are cut and affixed into the seat and back supports and with coach bolts securing the armrest supports to the bench frame, this results in a solid and robust build.

Detail of armrest fitting

As the build was coming to completion, the request for the corner table returned, I built a removable corner table to allow the bench to function with flexibility.

Table design and components

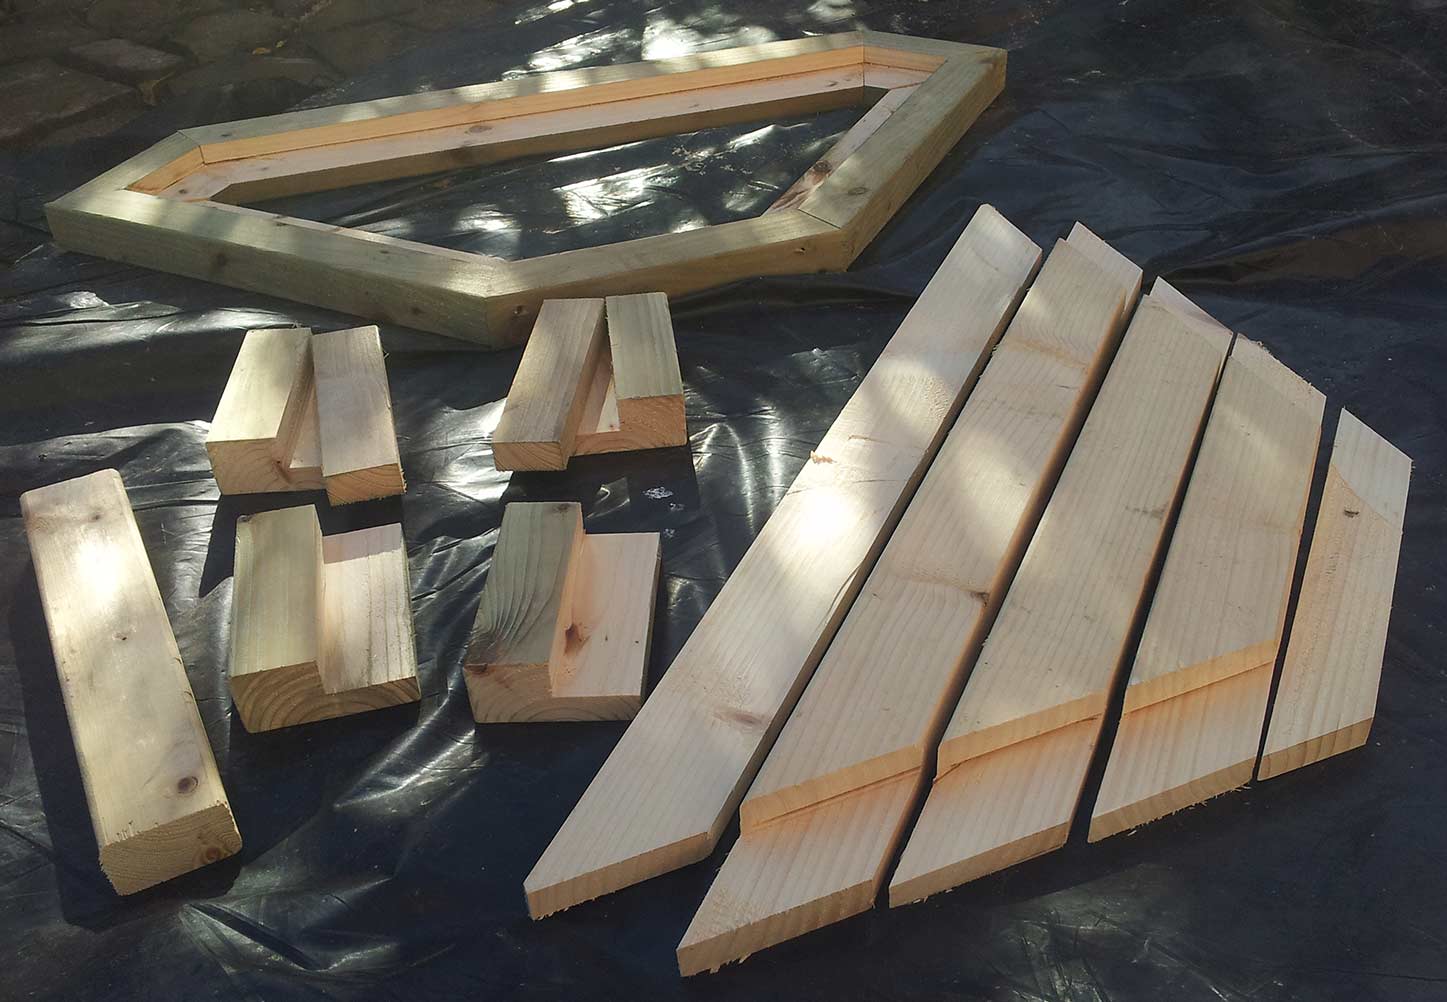
The Table is a essentially a timber frame cut with rebates, allowing rebated slats to be dropped in and affixed.

The frame joints for the table are biscuit jointed, glued and screwed. The slats are glued and secured by screws from beneath.

Table top assembled
Table top assembled

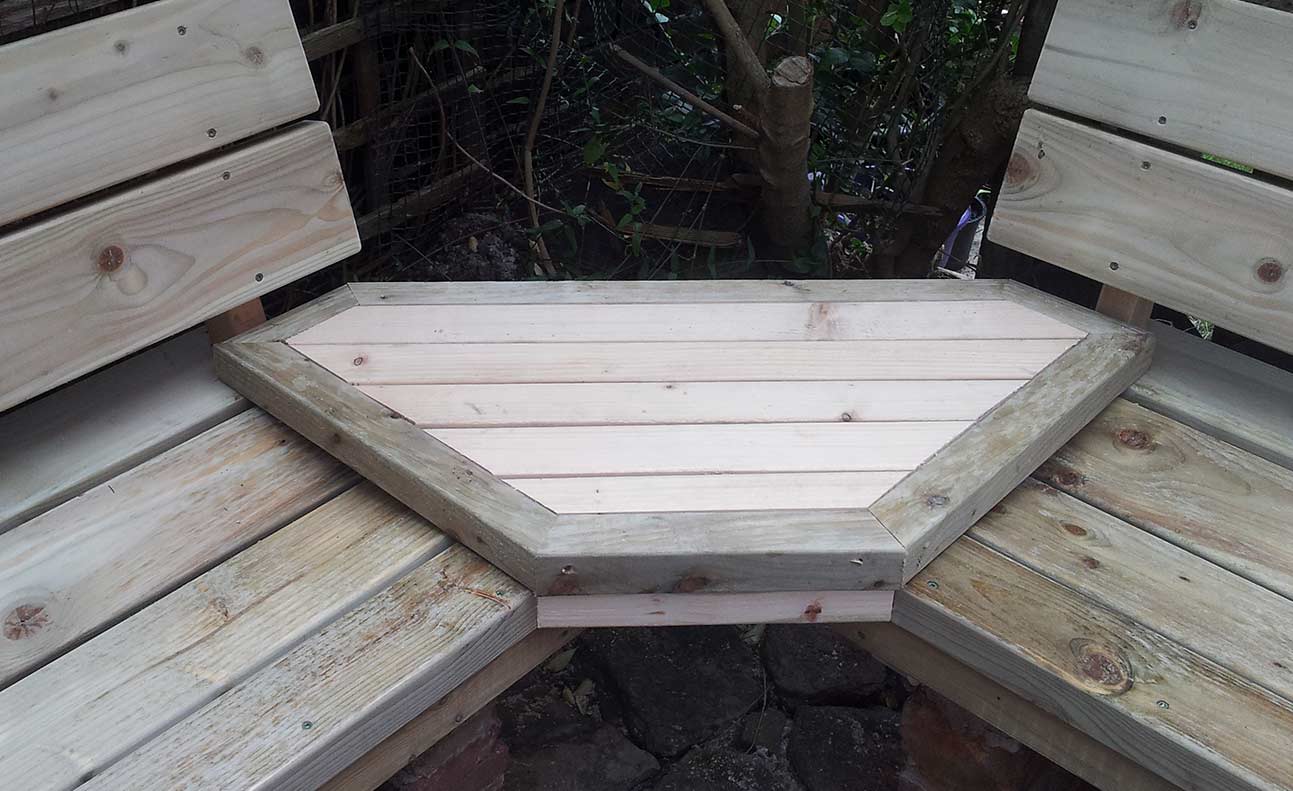
The table supports allow the table top to be simply dropped into position to affix securely. The height of the table perfectly matches the arm rests to compliment the seating comfort.

Oiling the bench gives the wood a warm colour and highlights the grain

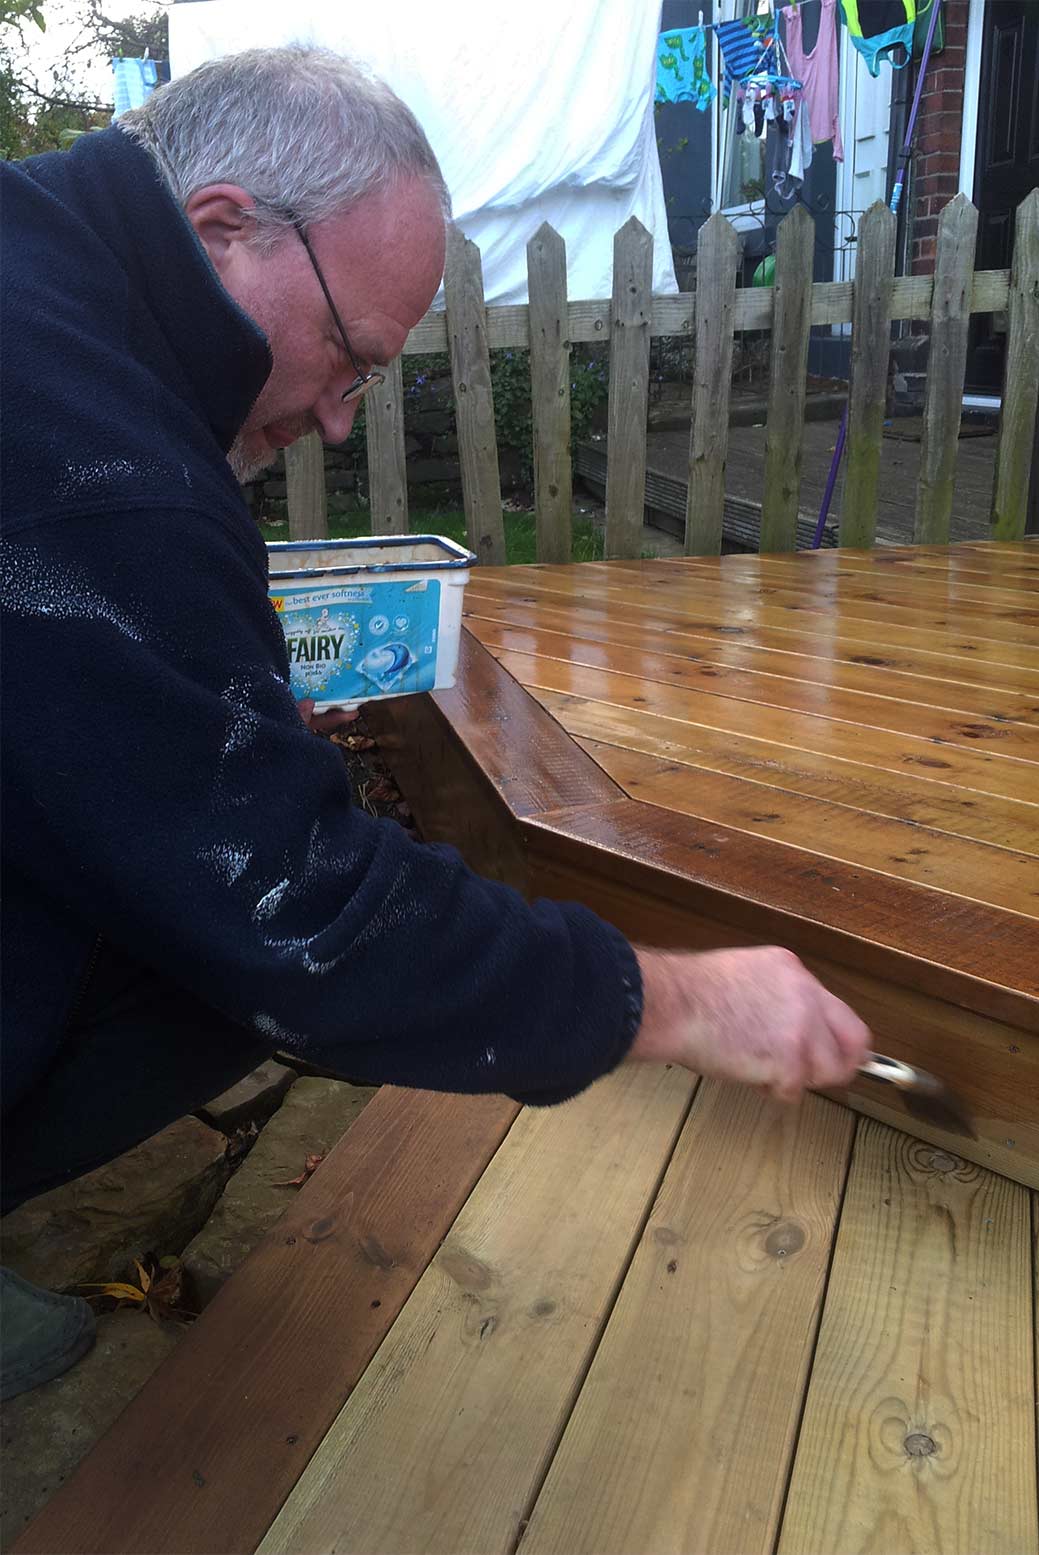
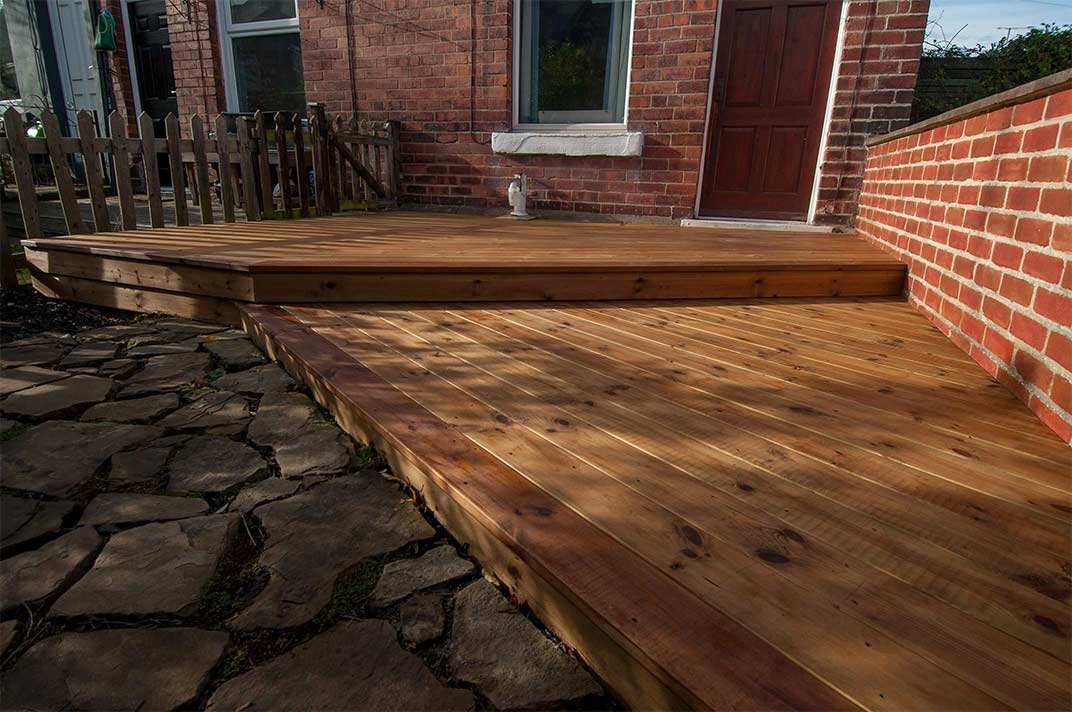
To finish, the bench has been oiled with light oak stained deck oil to complete the garden ensemble. 

If you like what Woodnewt has designed and built here, contact me and we can discuss what Woodnewt could do for you.

Brick Built Barbeque

Barbecue complete with recoloured wall and coping stones

The brick built barbecue outlined below, is the third element in a garden makeover. It is built with reclaimed bricks (about 120yrs old).  The following image shows the BBQ suppliers suggested method of laying bricks tangentially to support the coals tray. We all felt this was ugly..

Suggested brick construction method.
Suggested barbecue construction method.

I also opted to use my own stainless steel supports for the grill rack and coals tray. This negated the use of the flimsy and awkward grill supports coming supplied with the BBQ.

Framing ties fitted every three brick courses.

For strength, as we were not building an integral back wall with the BBQ, the brick supports on each side are built with frame ties every three brick courses to secure the BBQ to the back wall. For aesthetics, the top coping stones were cut out to receive brick copings across the back of the BBQ, to give the visual effect of having the back wall.

Bricks cut down to make coping stones for the back

On completion of the build, concrete stain was purchased in three brick colours to stain the the bland and ugly concrete bricks and coping stones to brick and earth tones to tie in with the surroundings.

BBQ with the bricks and coping stones stained to match
Barbecue complete with recoloured wall and coping stones

Garden Patio – Reclaimed Sandstone.

Moss growing in the patio cracks

Planning the patio

The patio was laid with reclaimed sandstone from a dry stone wall. laying out the stone selection on pallets allowed easier selection of each stone shape and size to be laid. Mortar was mixed by hand on a ‘builders spot’ allowing a few stones to be laid and then giving time to plan the next set to be laid.

Patio Stones
Patio stones

Patio Build Method

Differing thicknesses and shapes of the pavers meant that the sharp sand mortar bed that the stones would be laid on varies from about 50mm to 75mm. There was a slight downward slope of about 40mm away from the Brick BBQ area. As the patio was laid level, We therefore ensured an adequate depth of the mortar base as the laying progressed. 

Laying the patio stones
Mixed shapes and sizes of stones
Shapes and sizes mixed

The gaps between the stones have been set to accommodate moss, alpines and sedum to grow in, to give an aged cottage garden feel to the patio. Drainage between some pavers ensures rainwater evacuation

Patio laid around the bench base
Patio laid around the bench base.
Moss growing in the patio cracks
Sedum planted in the patio gaps by the bench

Split Level Garden Deck

Deck completed with stain and deck oil

The Project

The deck is the first stage of a four element project to transform a scruffy back yard into a classy intimate garden.

I was presented with colourful plan showing a vision for a customers garden.

CAD design plan
Computer designed garden vision

Key to this was a deck, or rather what looked like two decks.  Asking if they planned to have them on different levels, apparently wasn’t the case, but when I mentioned this they liked the idea and we looked at this possibility,  as the garden did actually slope down away from the house. I checked the levels and found it was an option.

upper deck frame
Upper deck frame, showing the gravel and rough concrete yard we started with

Discussing the deck board alignment, whether to run as shown in the plan, or to run inline with the length of the garden or across the width they actually chose to have them run diagonally which wasn’t shoin their plan, but was simply down to  the design software limitations.

Upper and Lower deck frames
Upper and lower deck frames in position

The Method

Previous decks I have built, have been the typical deck boarded square frame with boards fixed to the perimeter joists to effect a narrow frame style. This deck was going to be different, with the angles defined in the drawing, ‘picture frame’ edges would lend themselves to giving a classy finish their design.

Additional joist and notched supports

With some garden features dictating the siting of the deck, the angles were eased to 30deg and the deck made a little longer.

To accommodate the picture frame edges where the steps would be, extra joists needed fitting. With the concrete apron only being about 300mm below the damp proof course, I opted for 100mm x 50mm (2” x 4”) treated joists, ensuring suitable siting below the DPC. As 4” joists were used, I was able to use mini joist hangars which were cheaper and easier to use than the longer versions.  Supports additional to those concreted in were fixed to the deck frame to ensure a solid, bounce free deck.

Upper and lower deck completed
Both upper and lower deck completed

The 28mm x 125mm deck boards were fitted with 2mm spacings, (over time with shrinkage, the spacings will grow up to about 5mm). The Picture frame edges were jointed with biscuit joints then additionally glued and screwed.

Picture frame edge with 'nosing'
Picture frame edging with ‘nosing’ overhanging the riser board

The ‘nosing’ of the step overhangs the riser board by 12mm giving a stylish quality feel to the split level decks. 

Oiling the deck with a light oak stain

Finishing the decks

After fitting, the decks were treated with a light oak deck oil.  The picture frame edge was stained a darker colour prior to the deck oil stain to create a feature on the deck, and to highlight the step.

Deck completed with stain and deck oil