
The Project
The deck is the first stage of a four element project to transform a scruffy back yard into a classy intimate garden.
I was presented with colourful plan showing a vision for a customers garden.
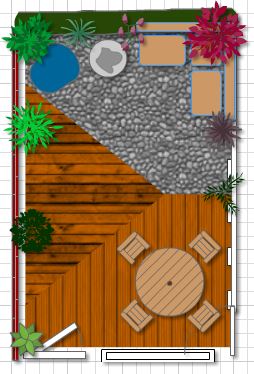
Key to this was a deck, or rather what looked like two decks. Asking if they planned to have them on different levels, apparently wasn’t the case, but when I mentioned this they liked the idea and we looked at this possibility, as the garden did actually slope down away from the house. I checked the levels and found it was an option.
Discussing the deck board alignment, whether to run as shown in the plan, or to run inline with the length of the garden or across the width they actually chose to have them run diagonally which wasn’t shoin their plan, but was simply down to the design software limitations.
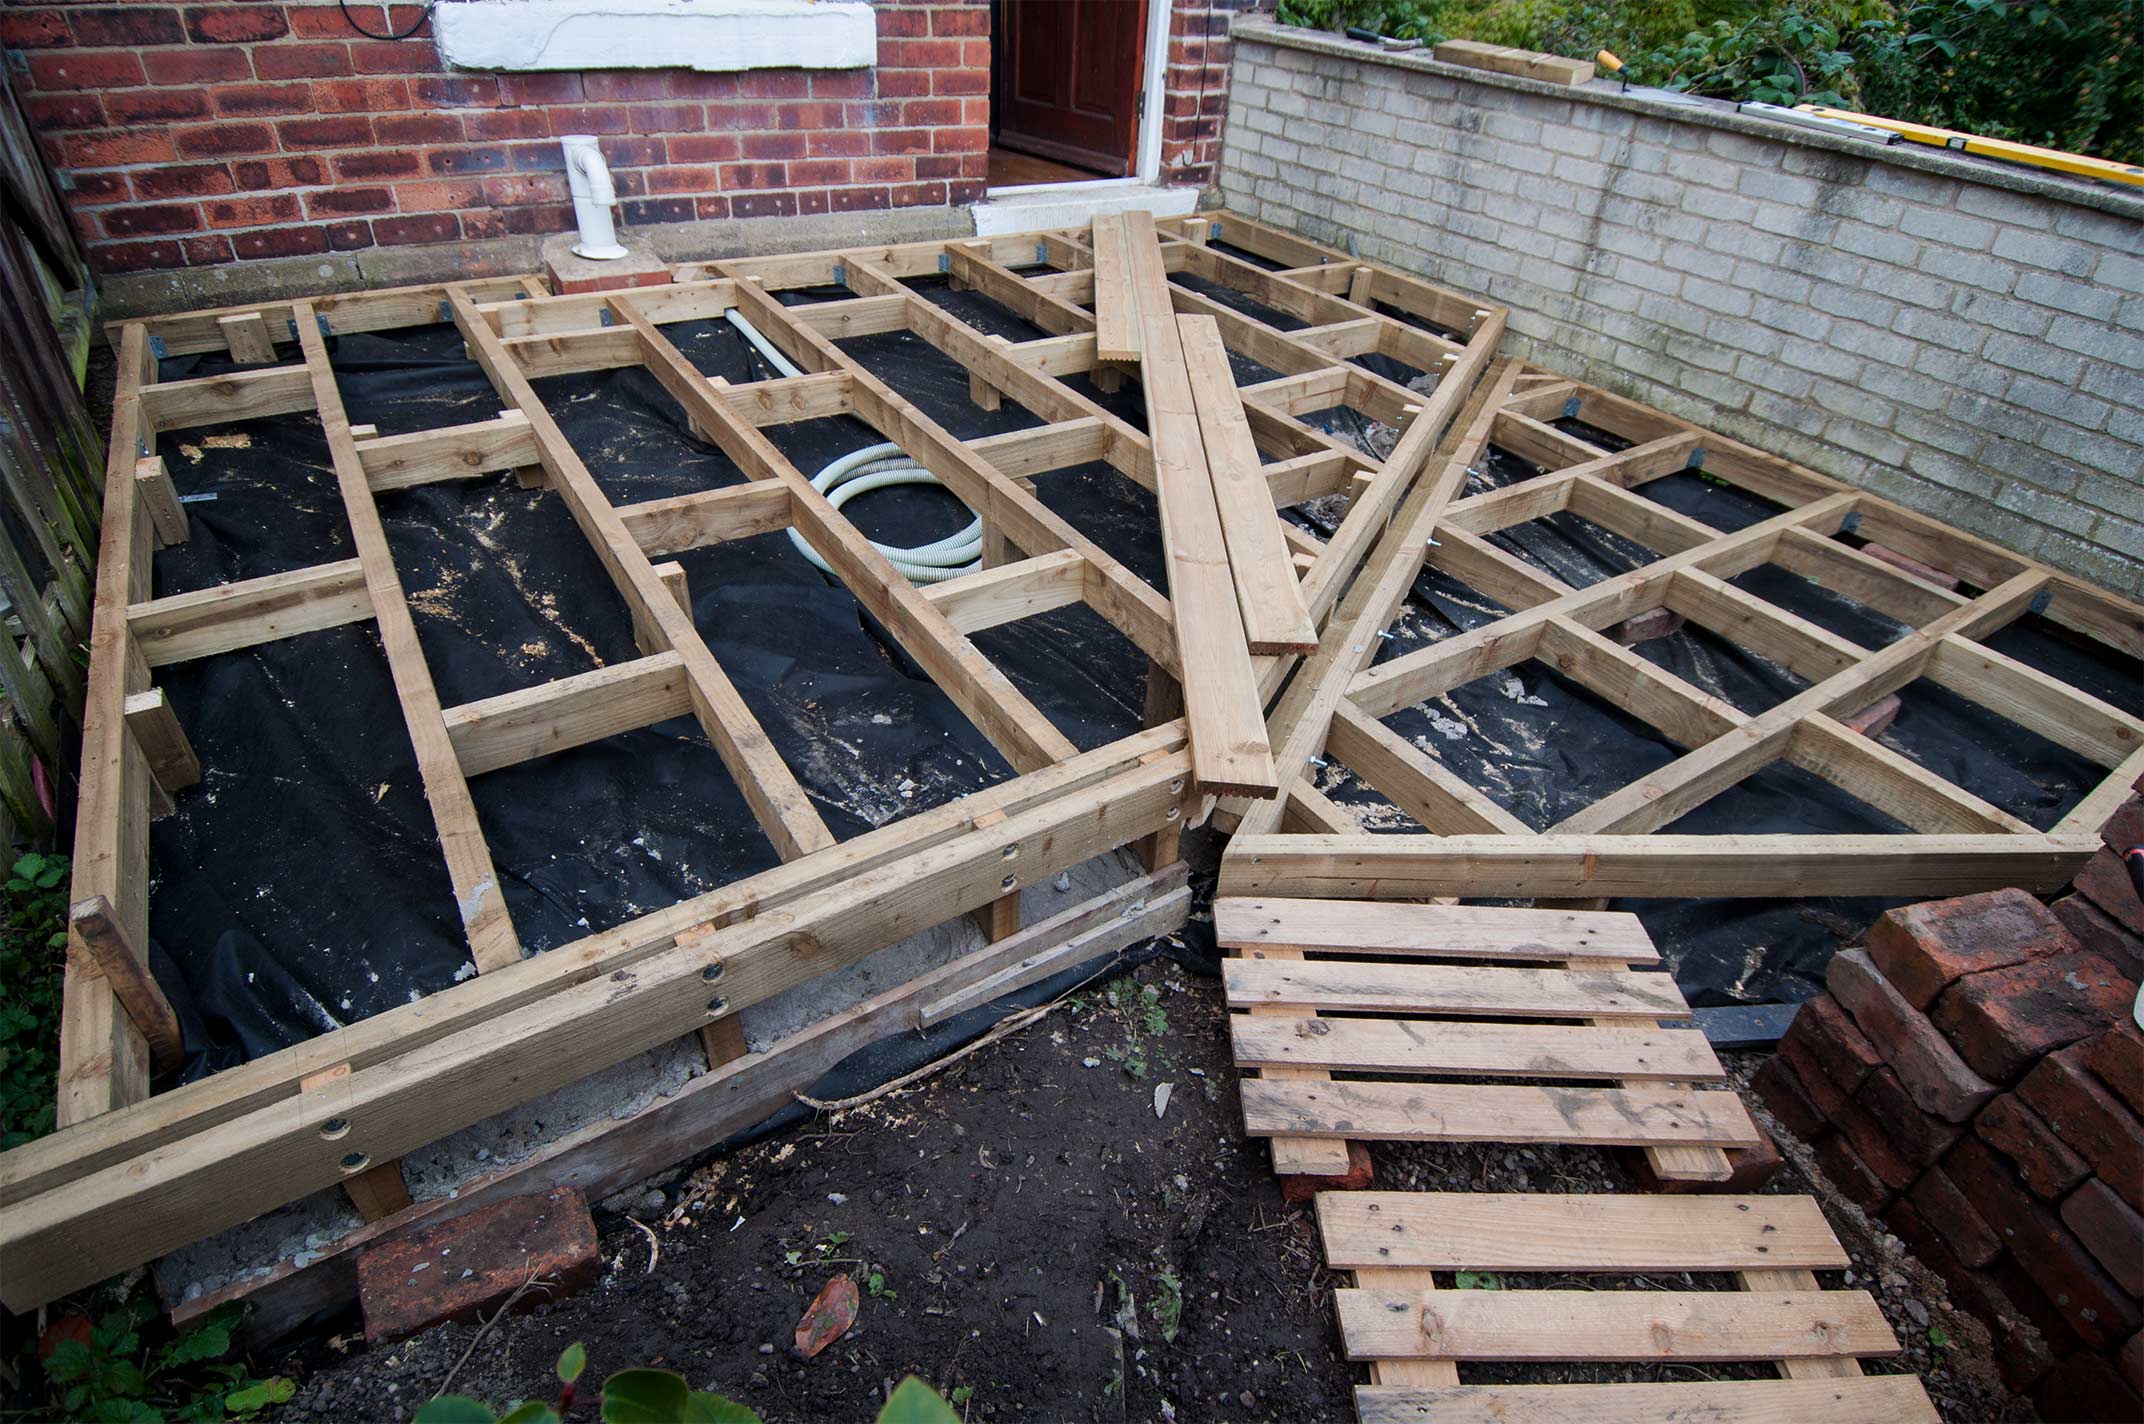
The Method
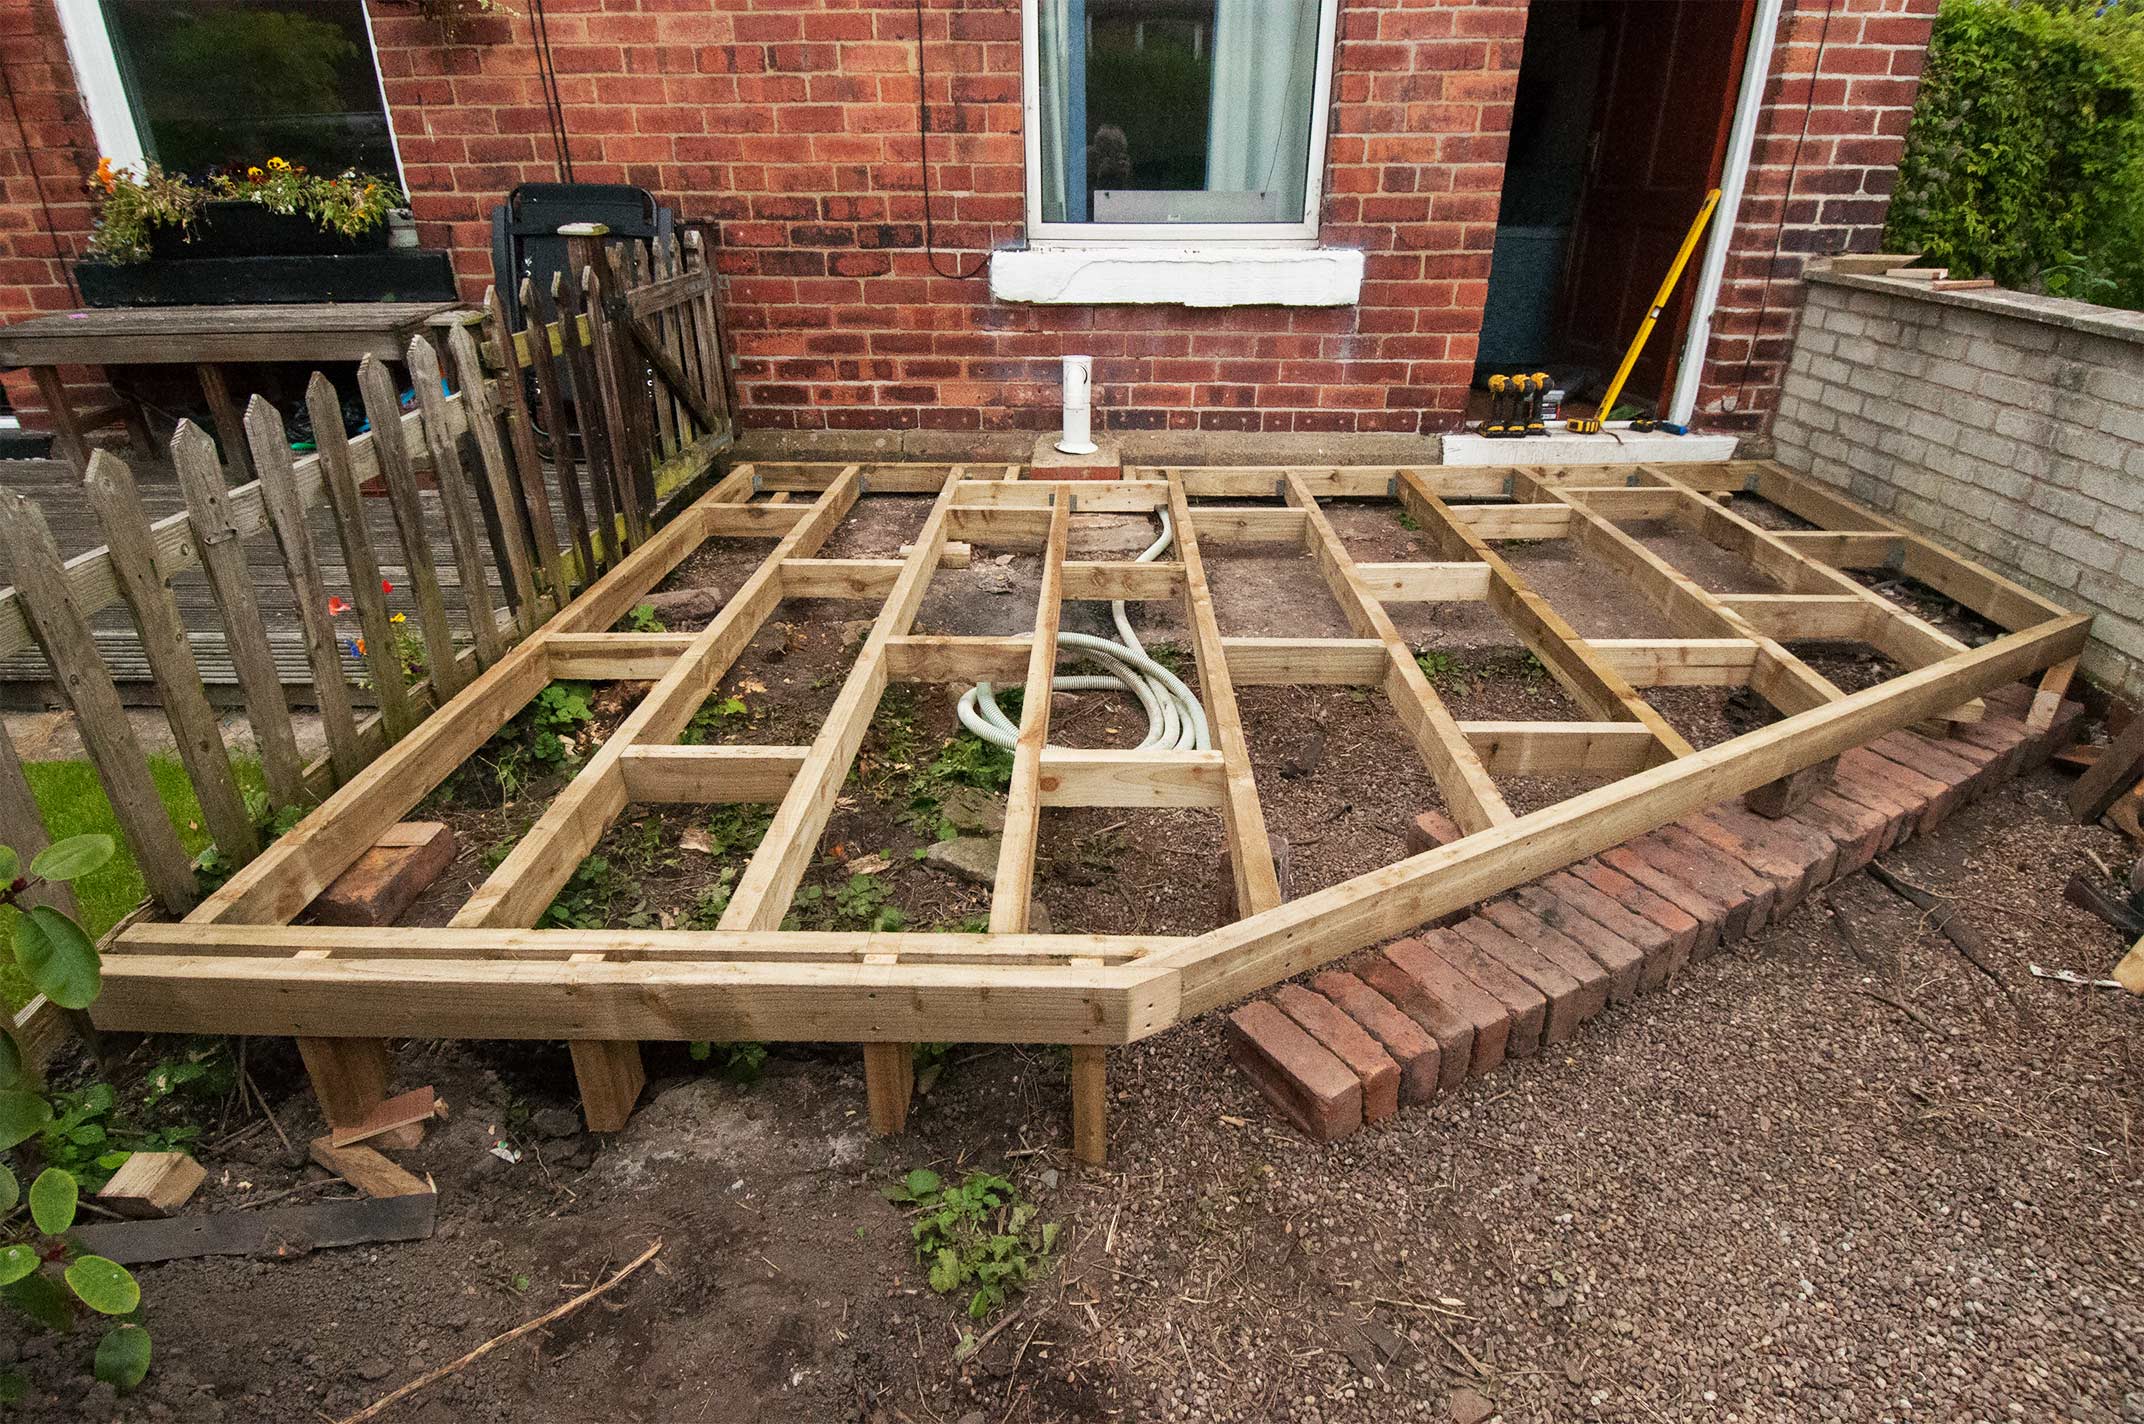
Previous decks I have built, have been the typical deck boarded square frame with boards fixed to the perimeter joists to effect a narrow frame style. This deck was going to be different, with the angles defined in the drawing, ‘picture frame’ edges would lend themselves to giving a classy finish their design.
With some garden features dictating the siting of the deck, the angles were eased to 30deg and the deck made a little longer.
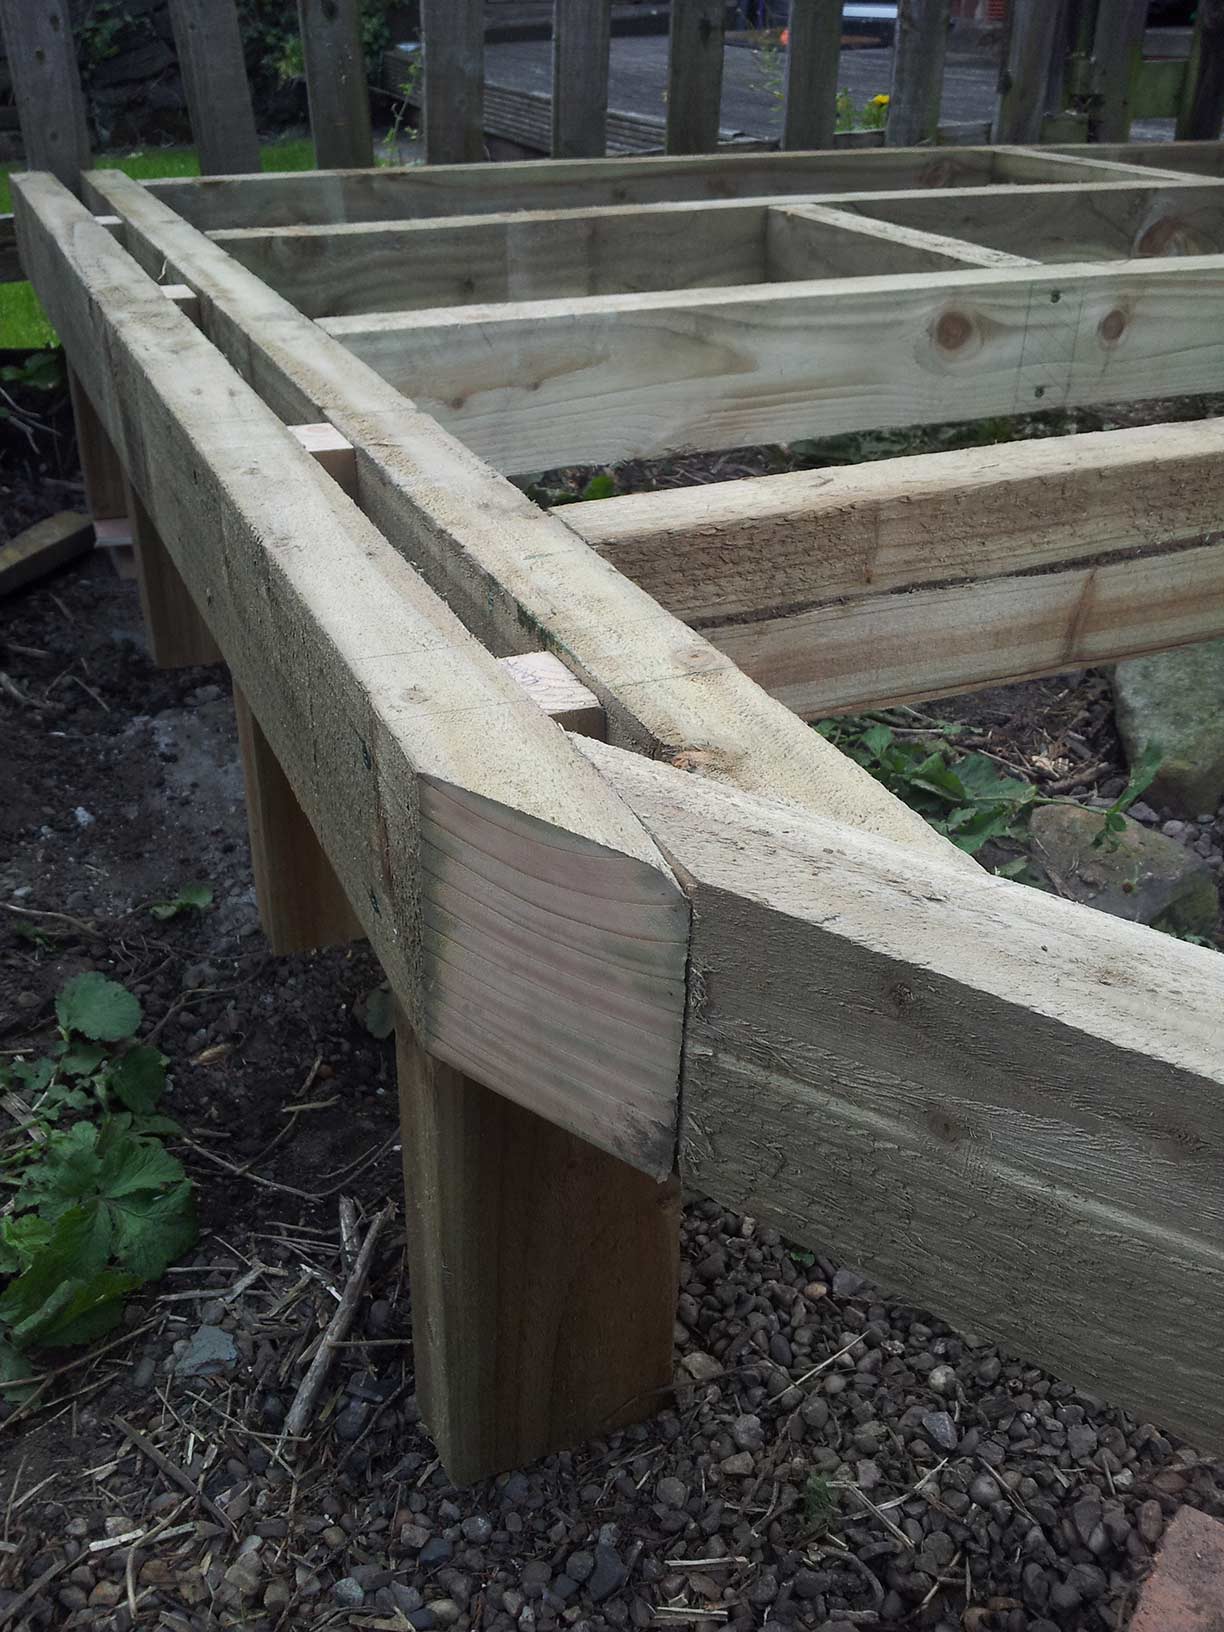
To accommodate the picture frame edges where the steps would be, extra joists needed fitting. With the concrete apron only being about 300mm below the damp proof course, I opted for 100mm x 50mm (2” x 4”) treated joists, ensuring suitable siting below the DPC. As 4” joists were used, I was able to use mini joist hangars which were cheaper and easier to use than the longer versions. Supports additional to those concreted in were fixed to the deck frame to ensure a solid, bounce free deck.
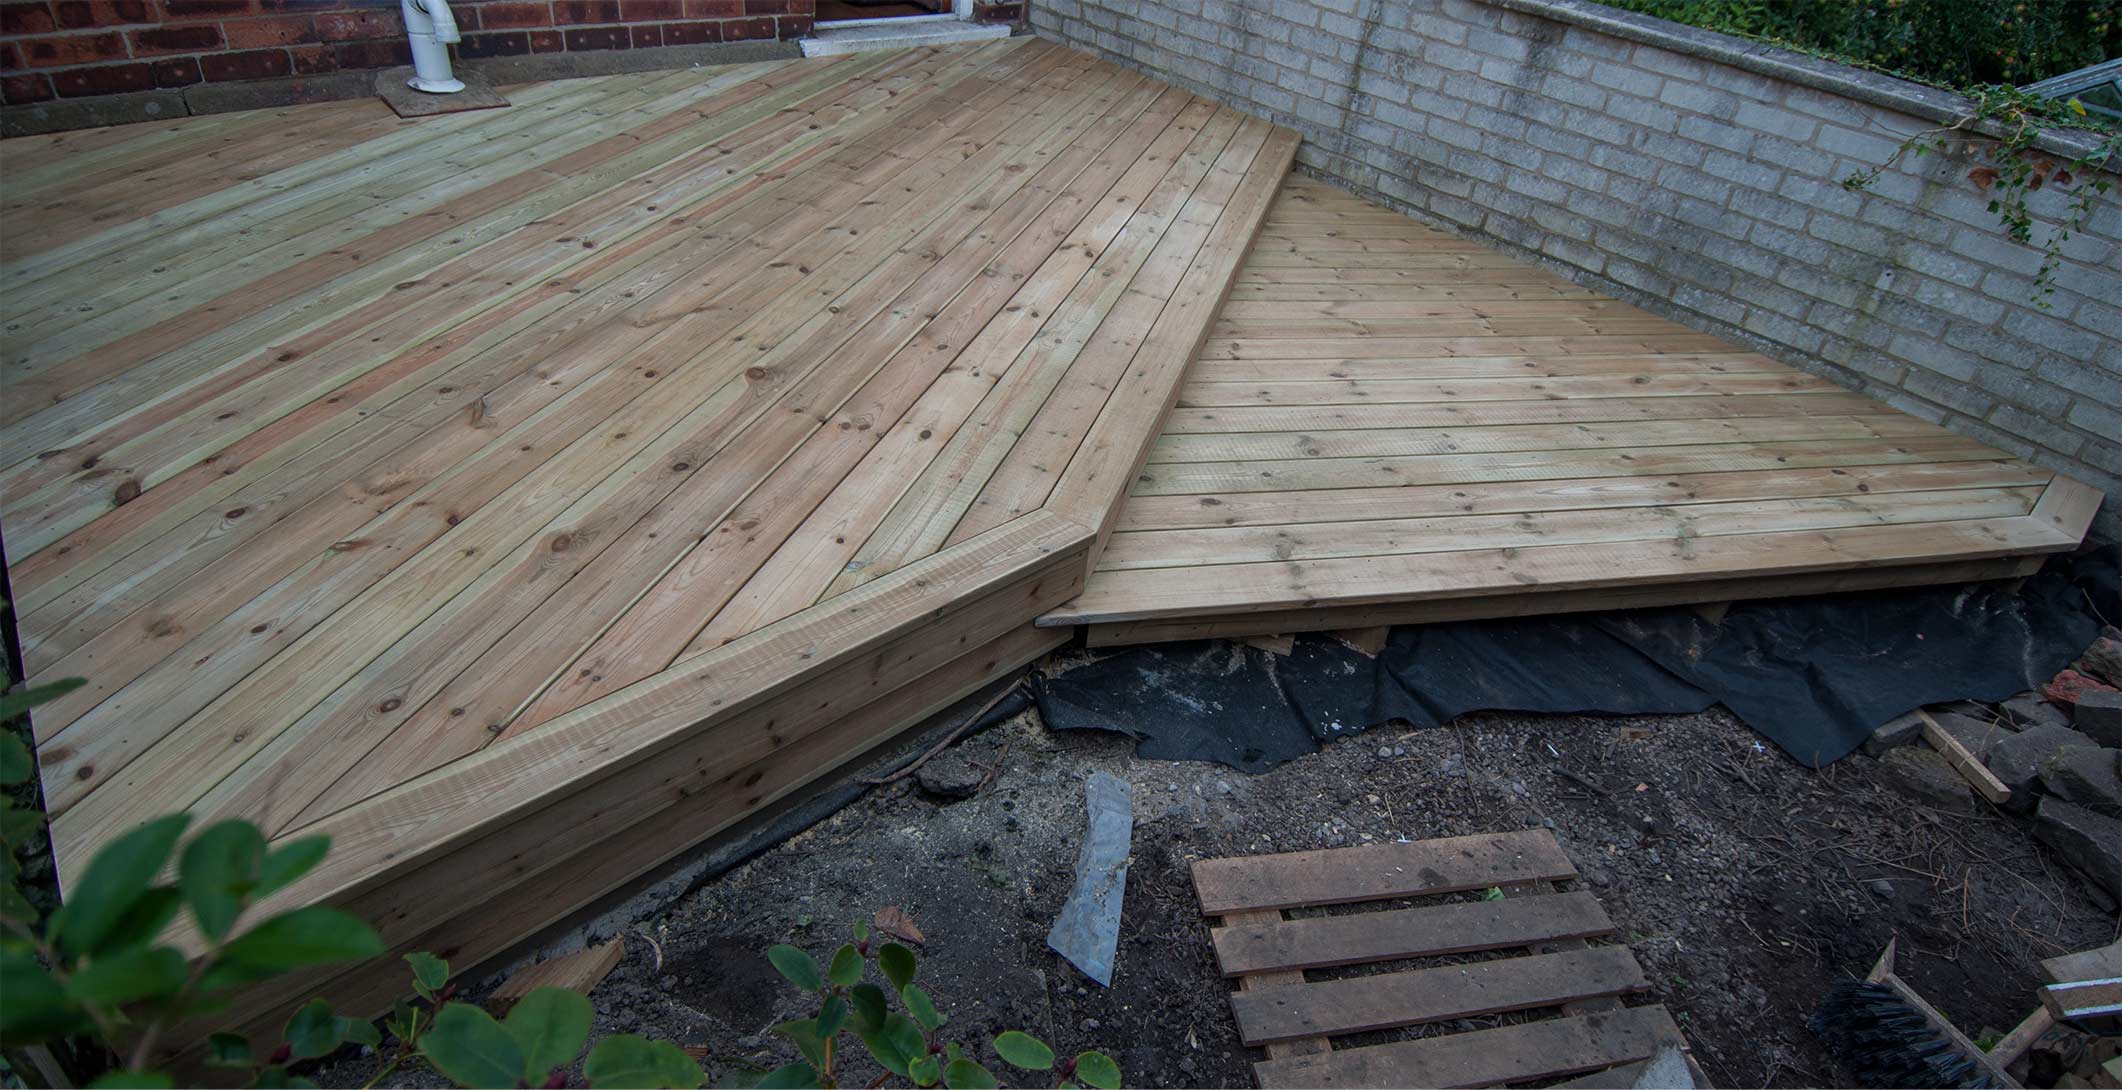
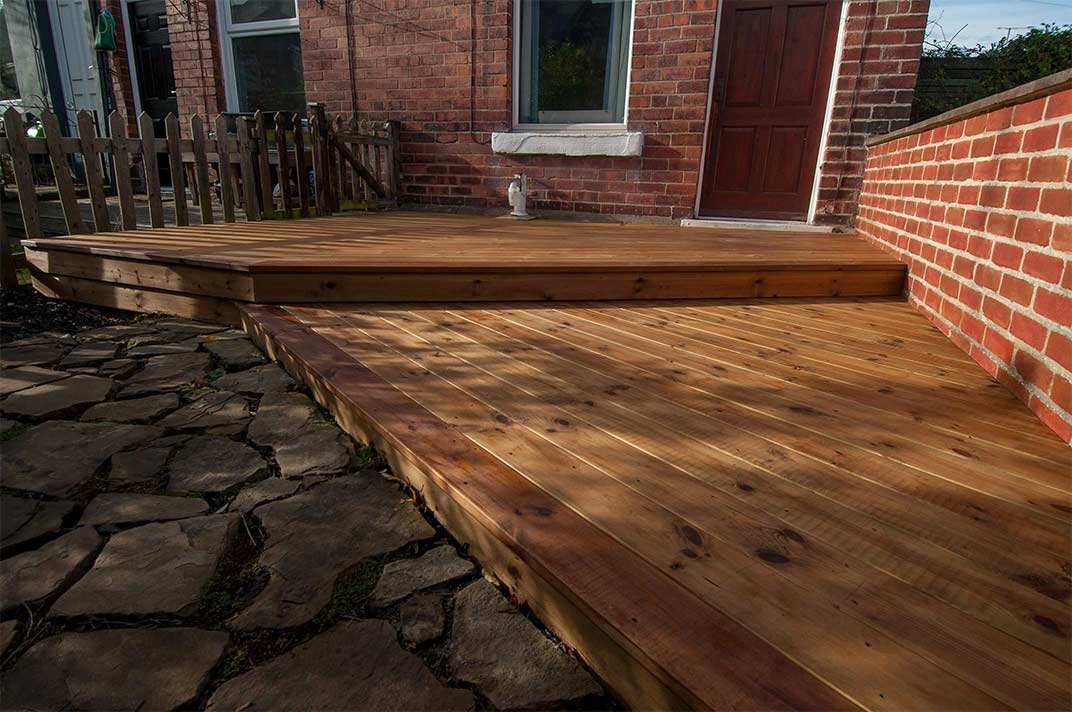
The 28mm x 125mm deck boards were fitted with 2mm spacings, (over time with shrinkage, the spacings will grow up to about 5mm). The Picture frame edges were jointed with biscuit joints then additionally glued and screwed.
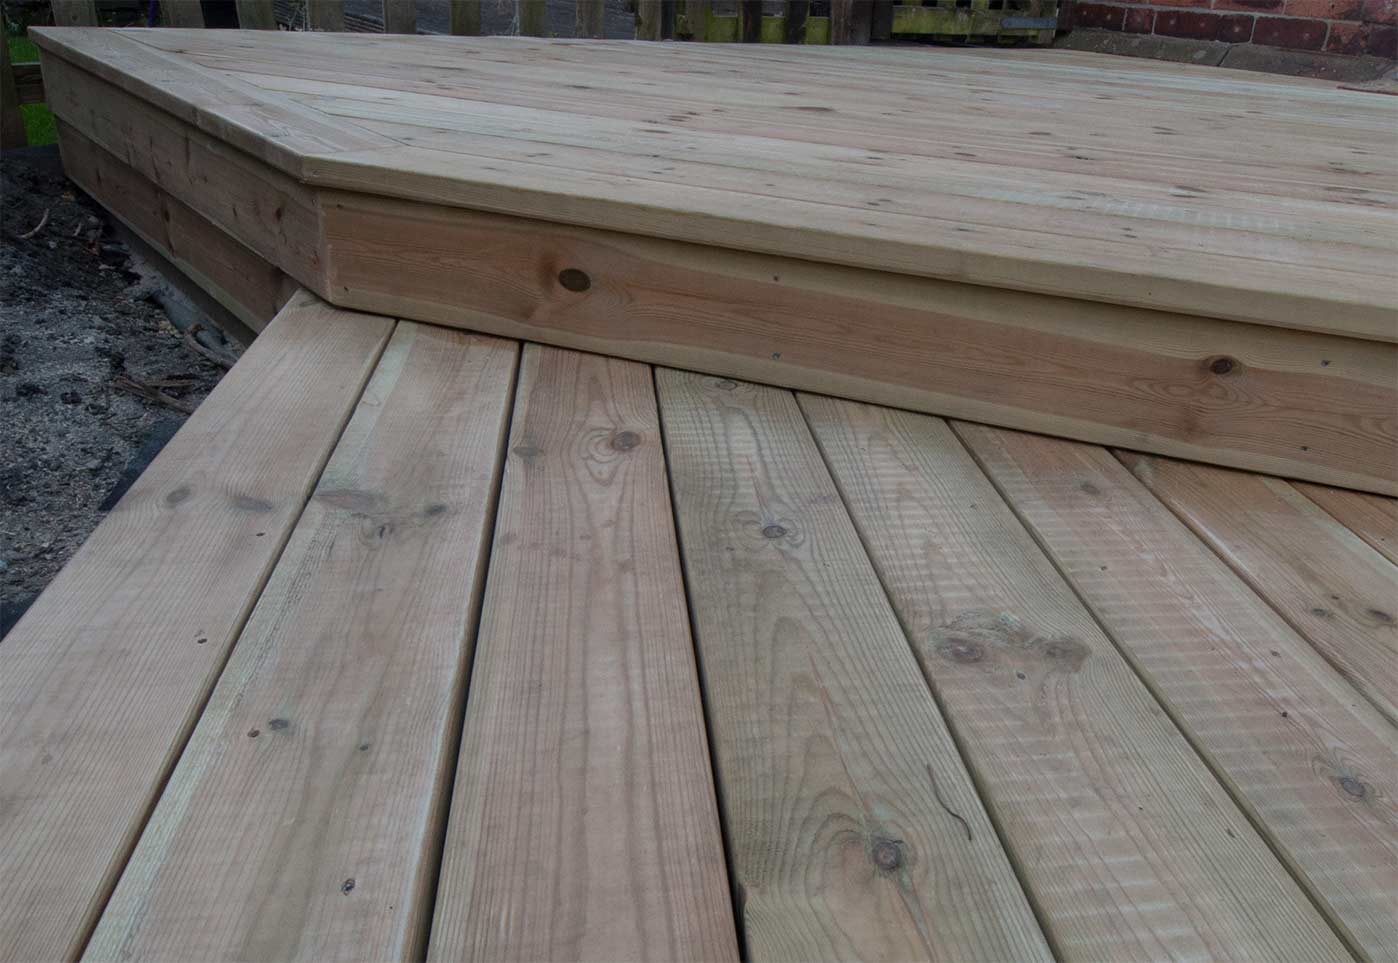
The ‘nosing’ of the step overhangs the riser board by 12mm giving a stylish quality feel to the split level decks.
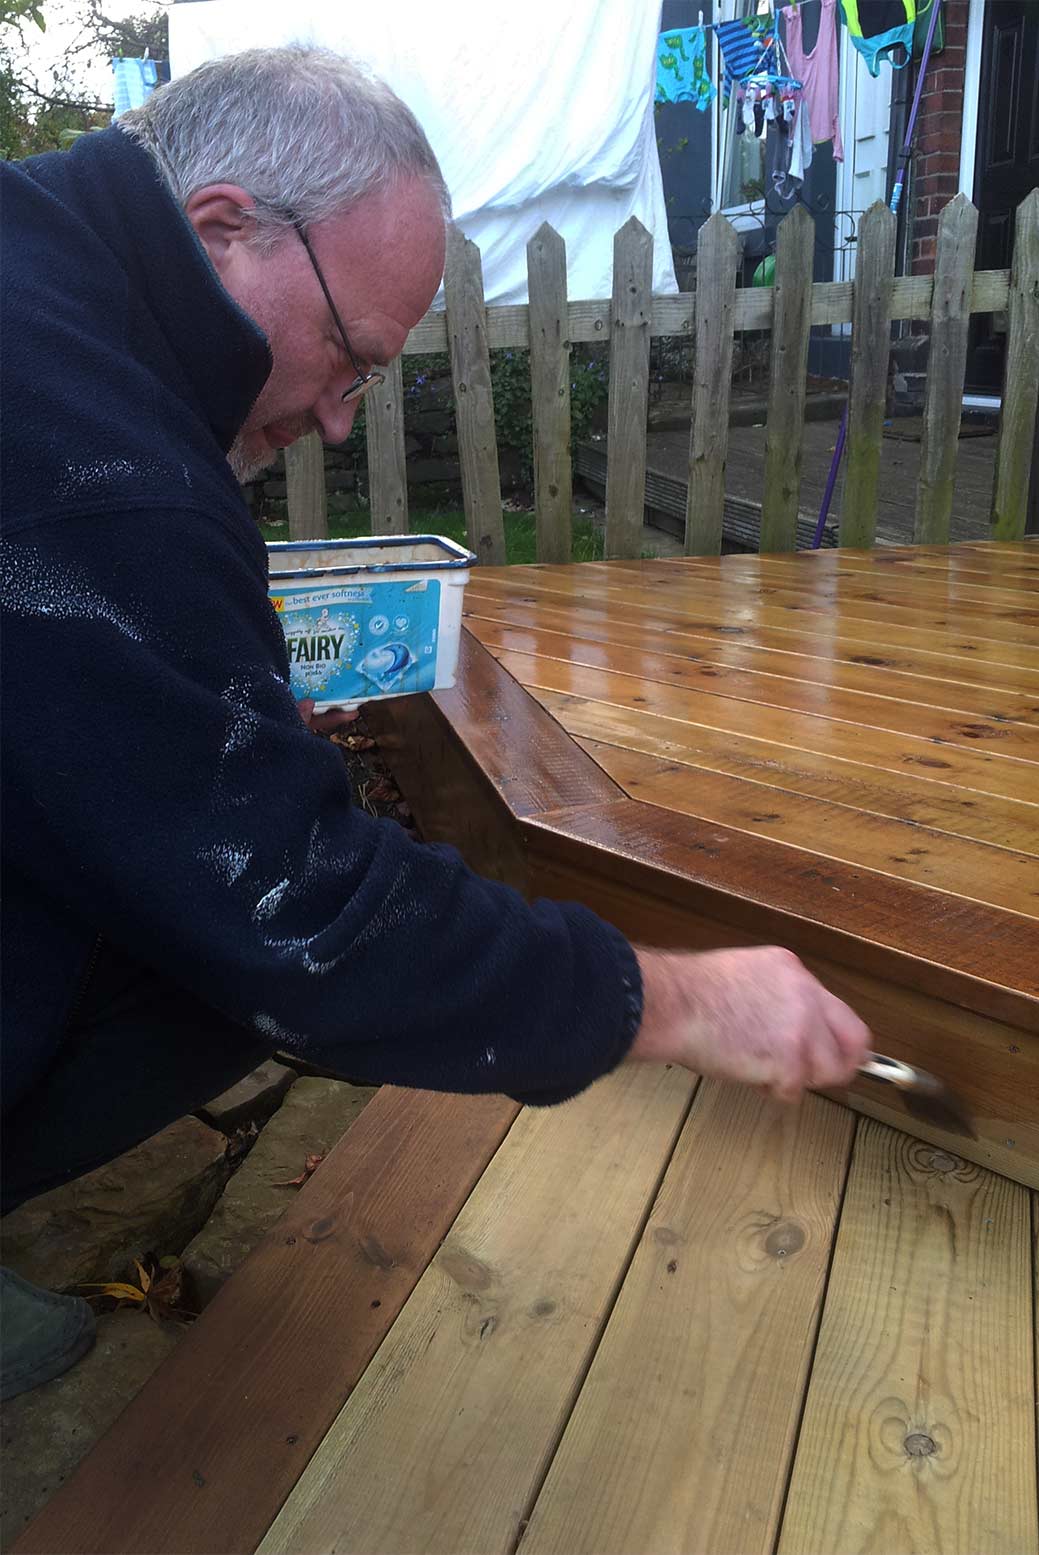
Finishing the decks
After fitting, the decks were treated with a light oak deck oil. The picture frame edge was stained a darker colour prior to the deck oil stain to create a feature on the deck, and to highlight the step.